
(click any picture for larger view)
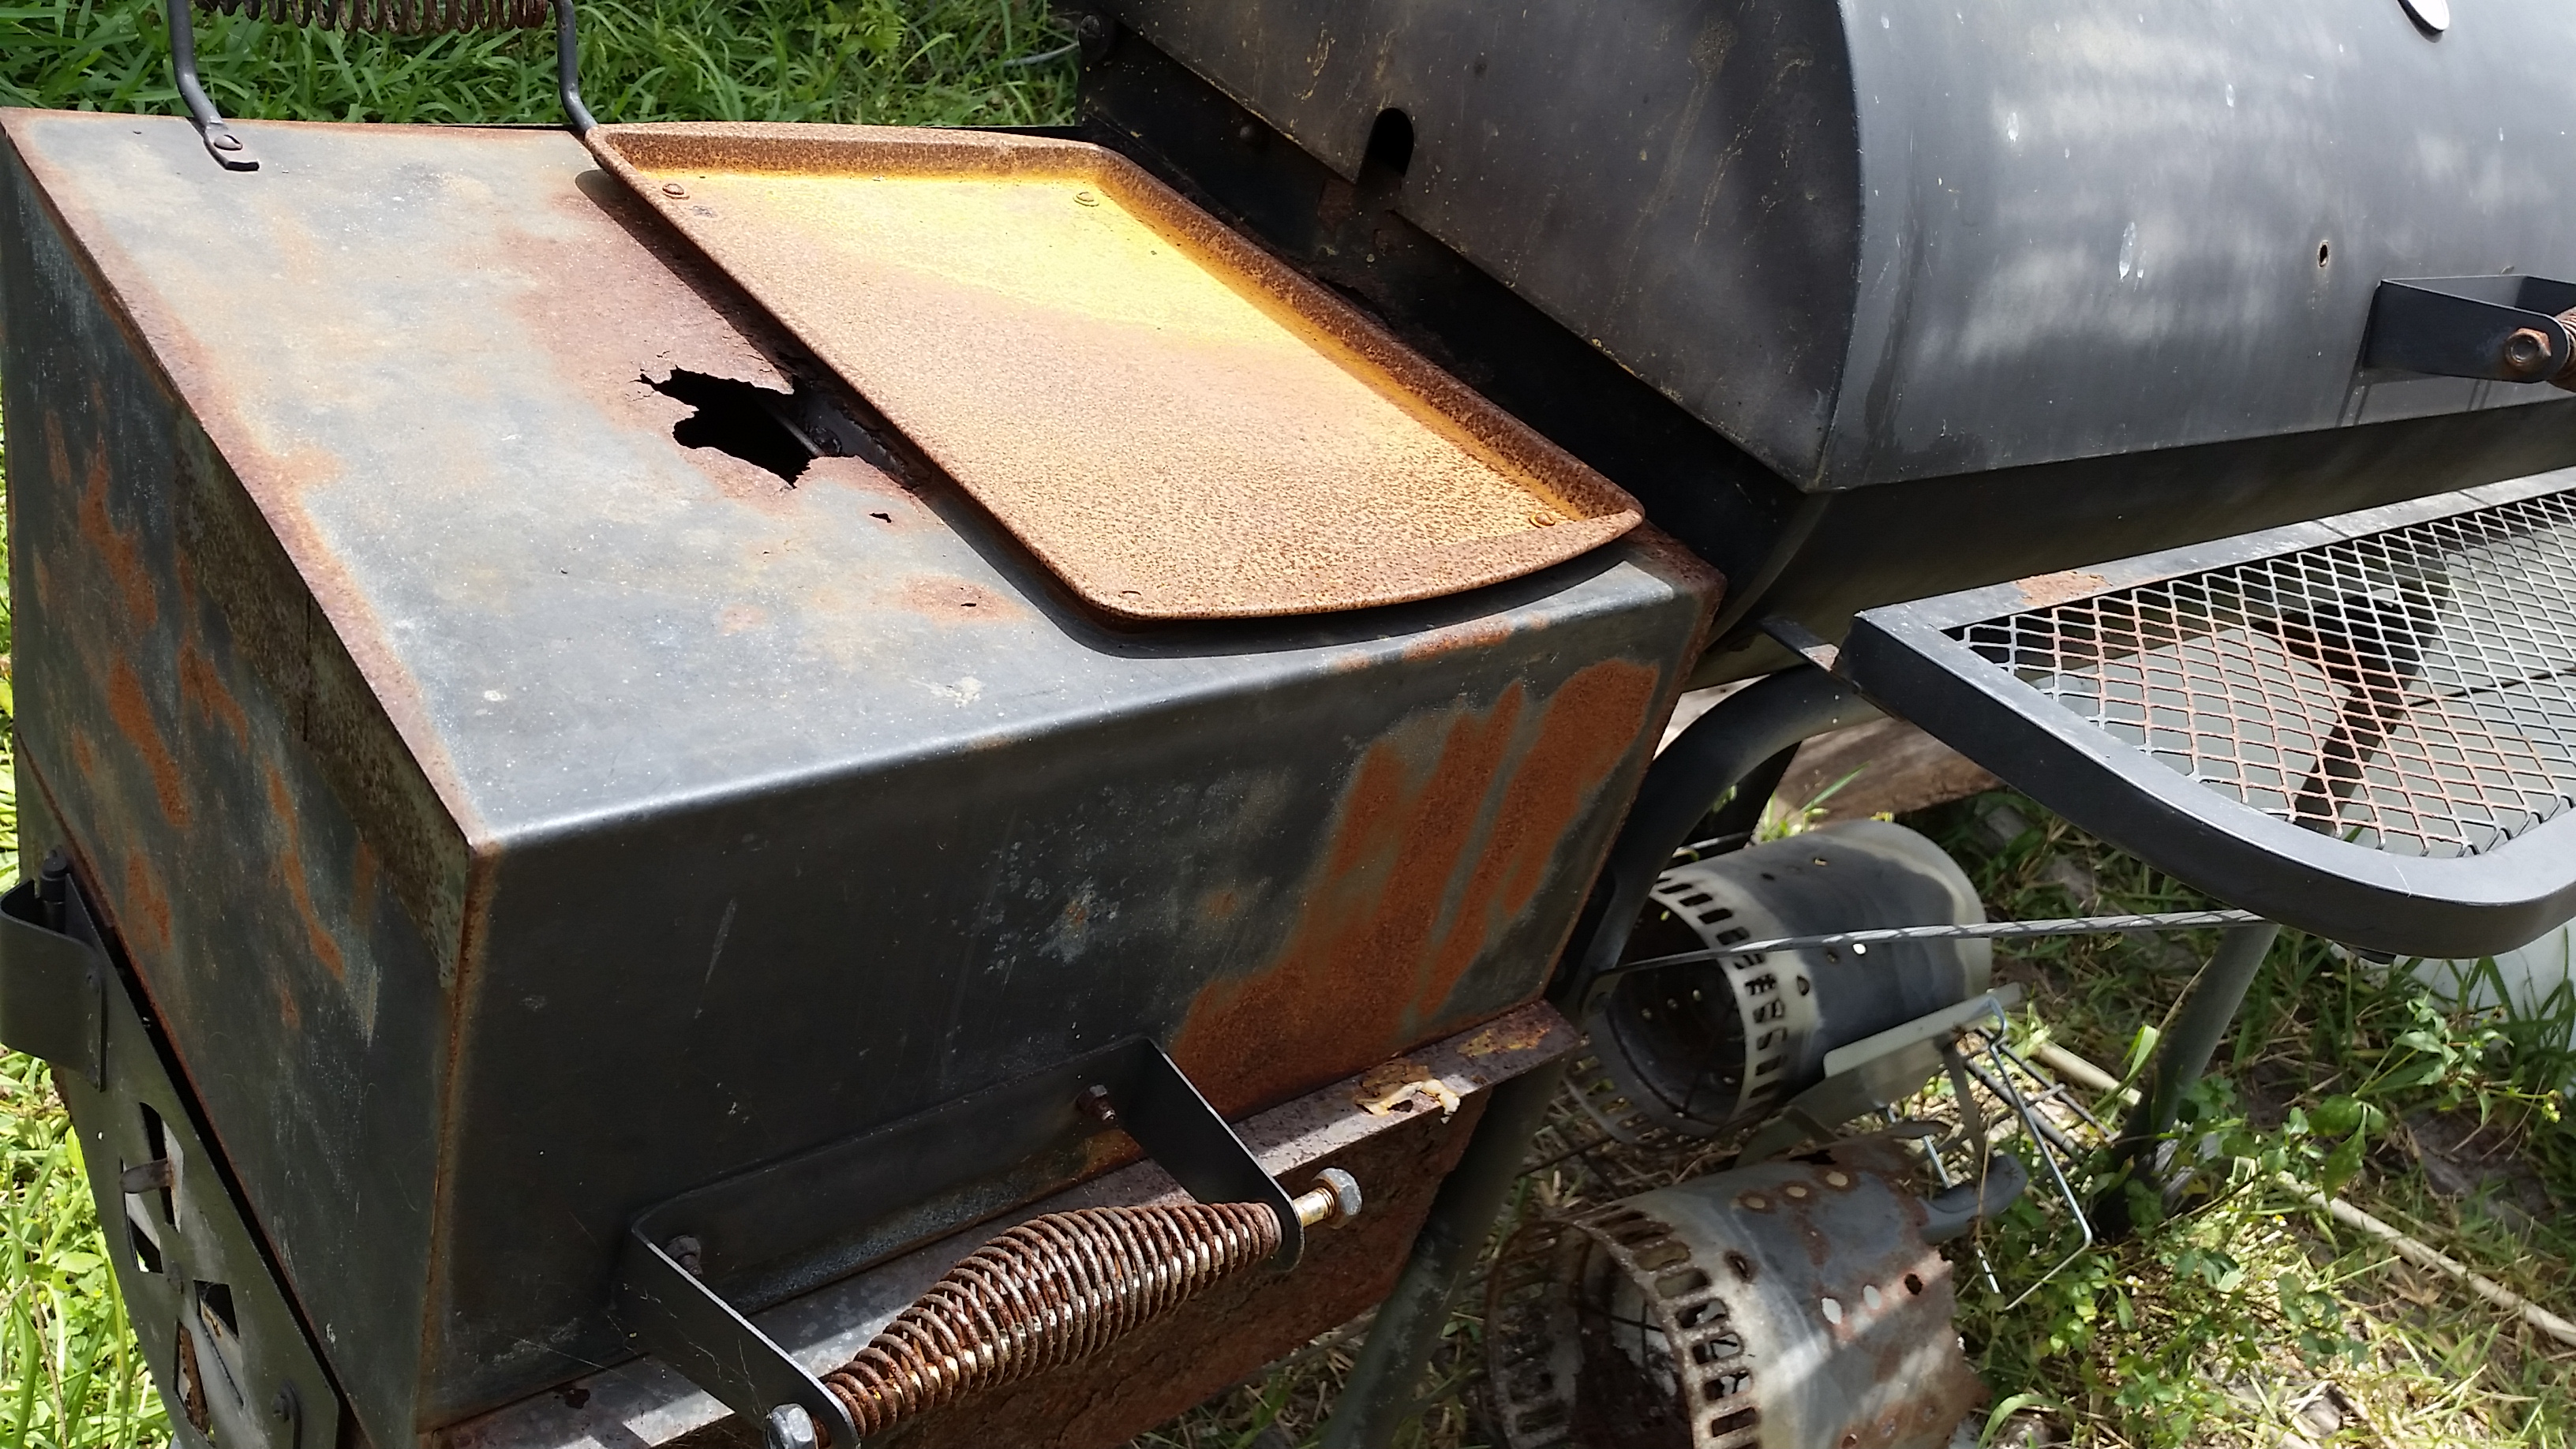
Bitter-sweet, to say the least. Our old smoker (Char-Broil American Gourmet Deluxe Offset Smoker) has been a tried and true companion for 6+ years. Considering the initial investment of roughly $180, it truly owes us nothing – but we owe it our thanks. Hundreds of pounds of meats, vegetables and eggs were low and slow smoked to succulent awesomeness. We had to replace the firebox with a custom weld made by our son after 2 seasons, and it, after being twice patched before, has burned through yet again. Time has taken its toll on our old friend, and sadly, we must bid it our final farewells.
 |
 |
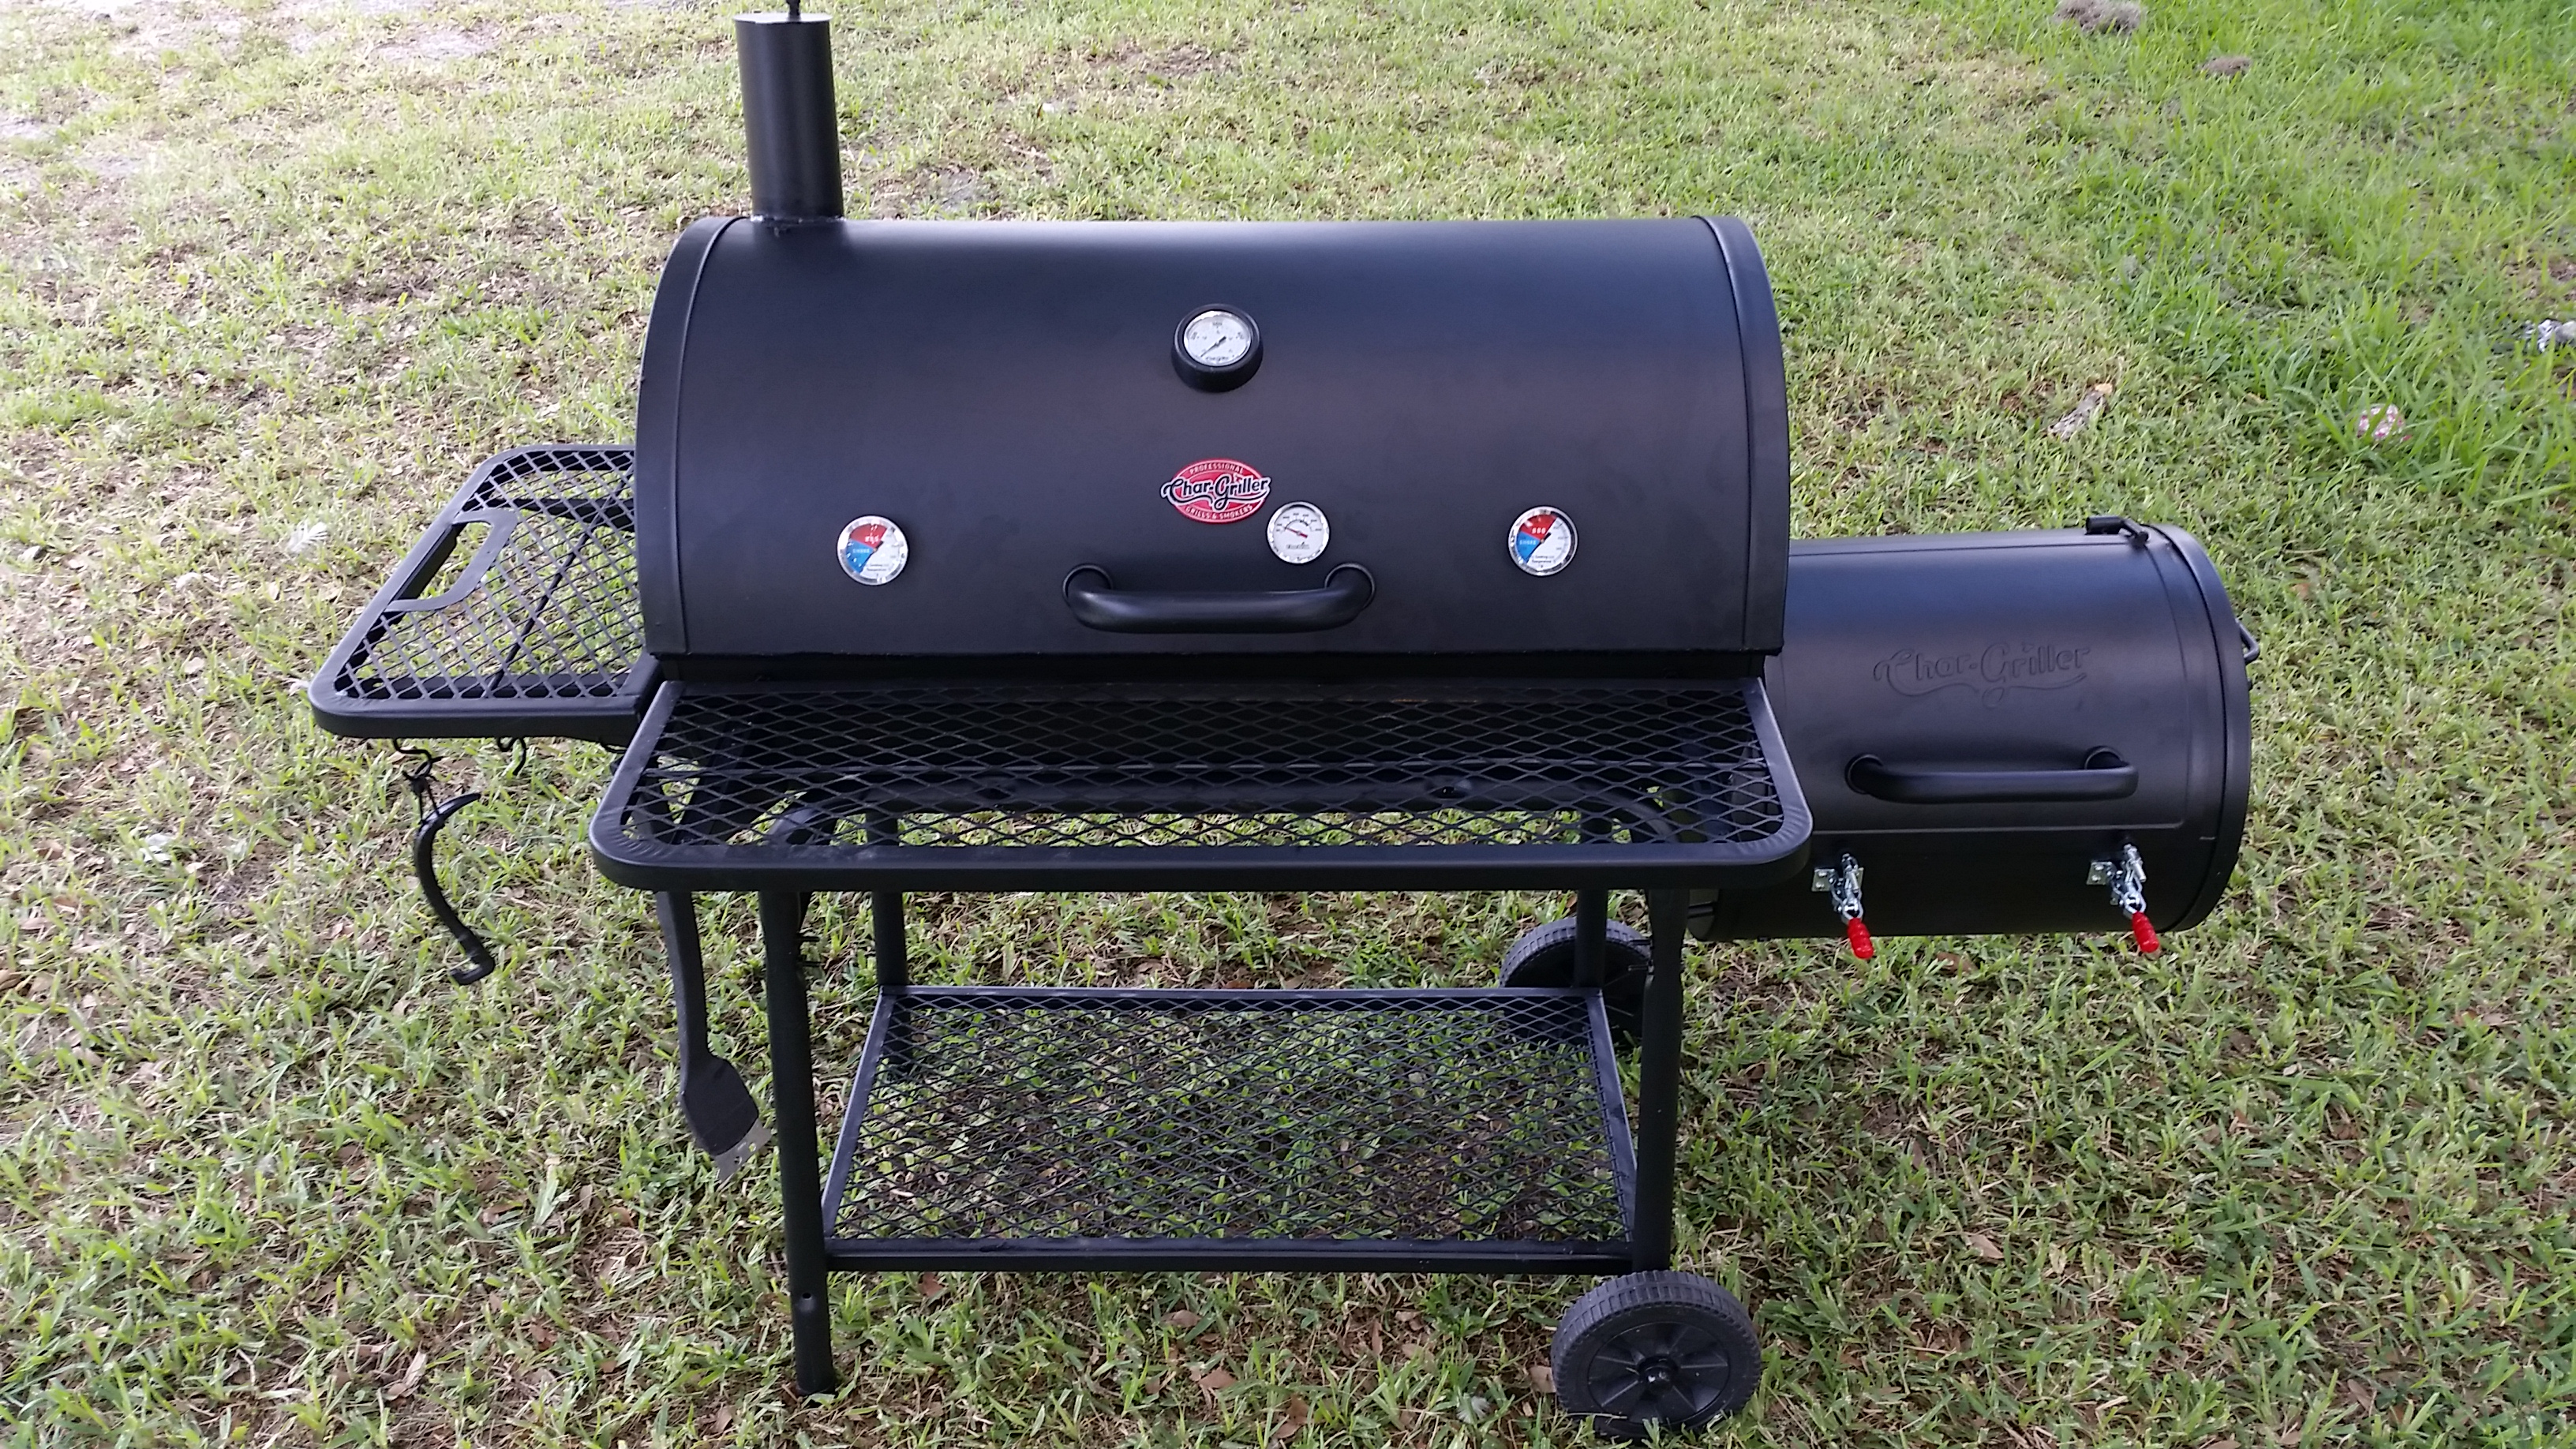
Our new smoker is a combination of two units from Char-Griller. First is the Char-Griller 2735 Pro Deluxe XL Charcoal Grill that is mated with a Char-Giller E72424 Side Fire box. This isn’t some sort of Frankenstein setup — the units are actually constructed to be fully compatible in an offset smoker configuration.
Char-Griller 2735 Pro Deluxe XL Charcoal Grill |
Char-Giller E72424 Side Fire box |
A 7/16″ Socket and a pair of pliers is all you need. |
The welds are not stellar. But, it works.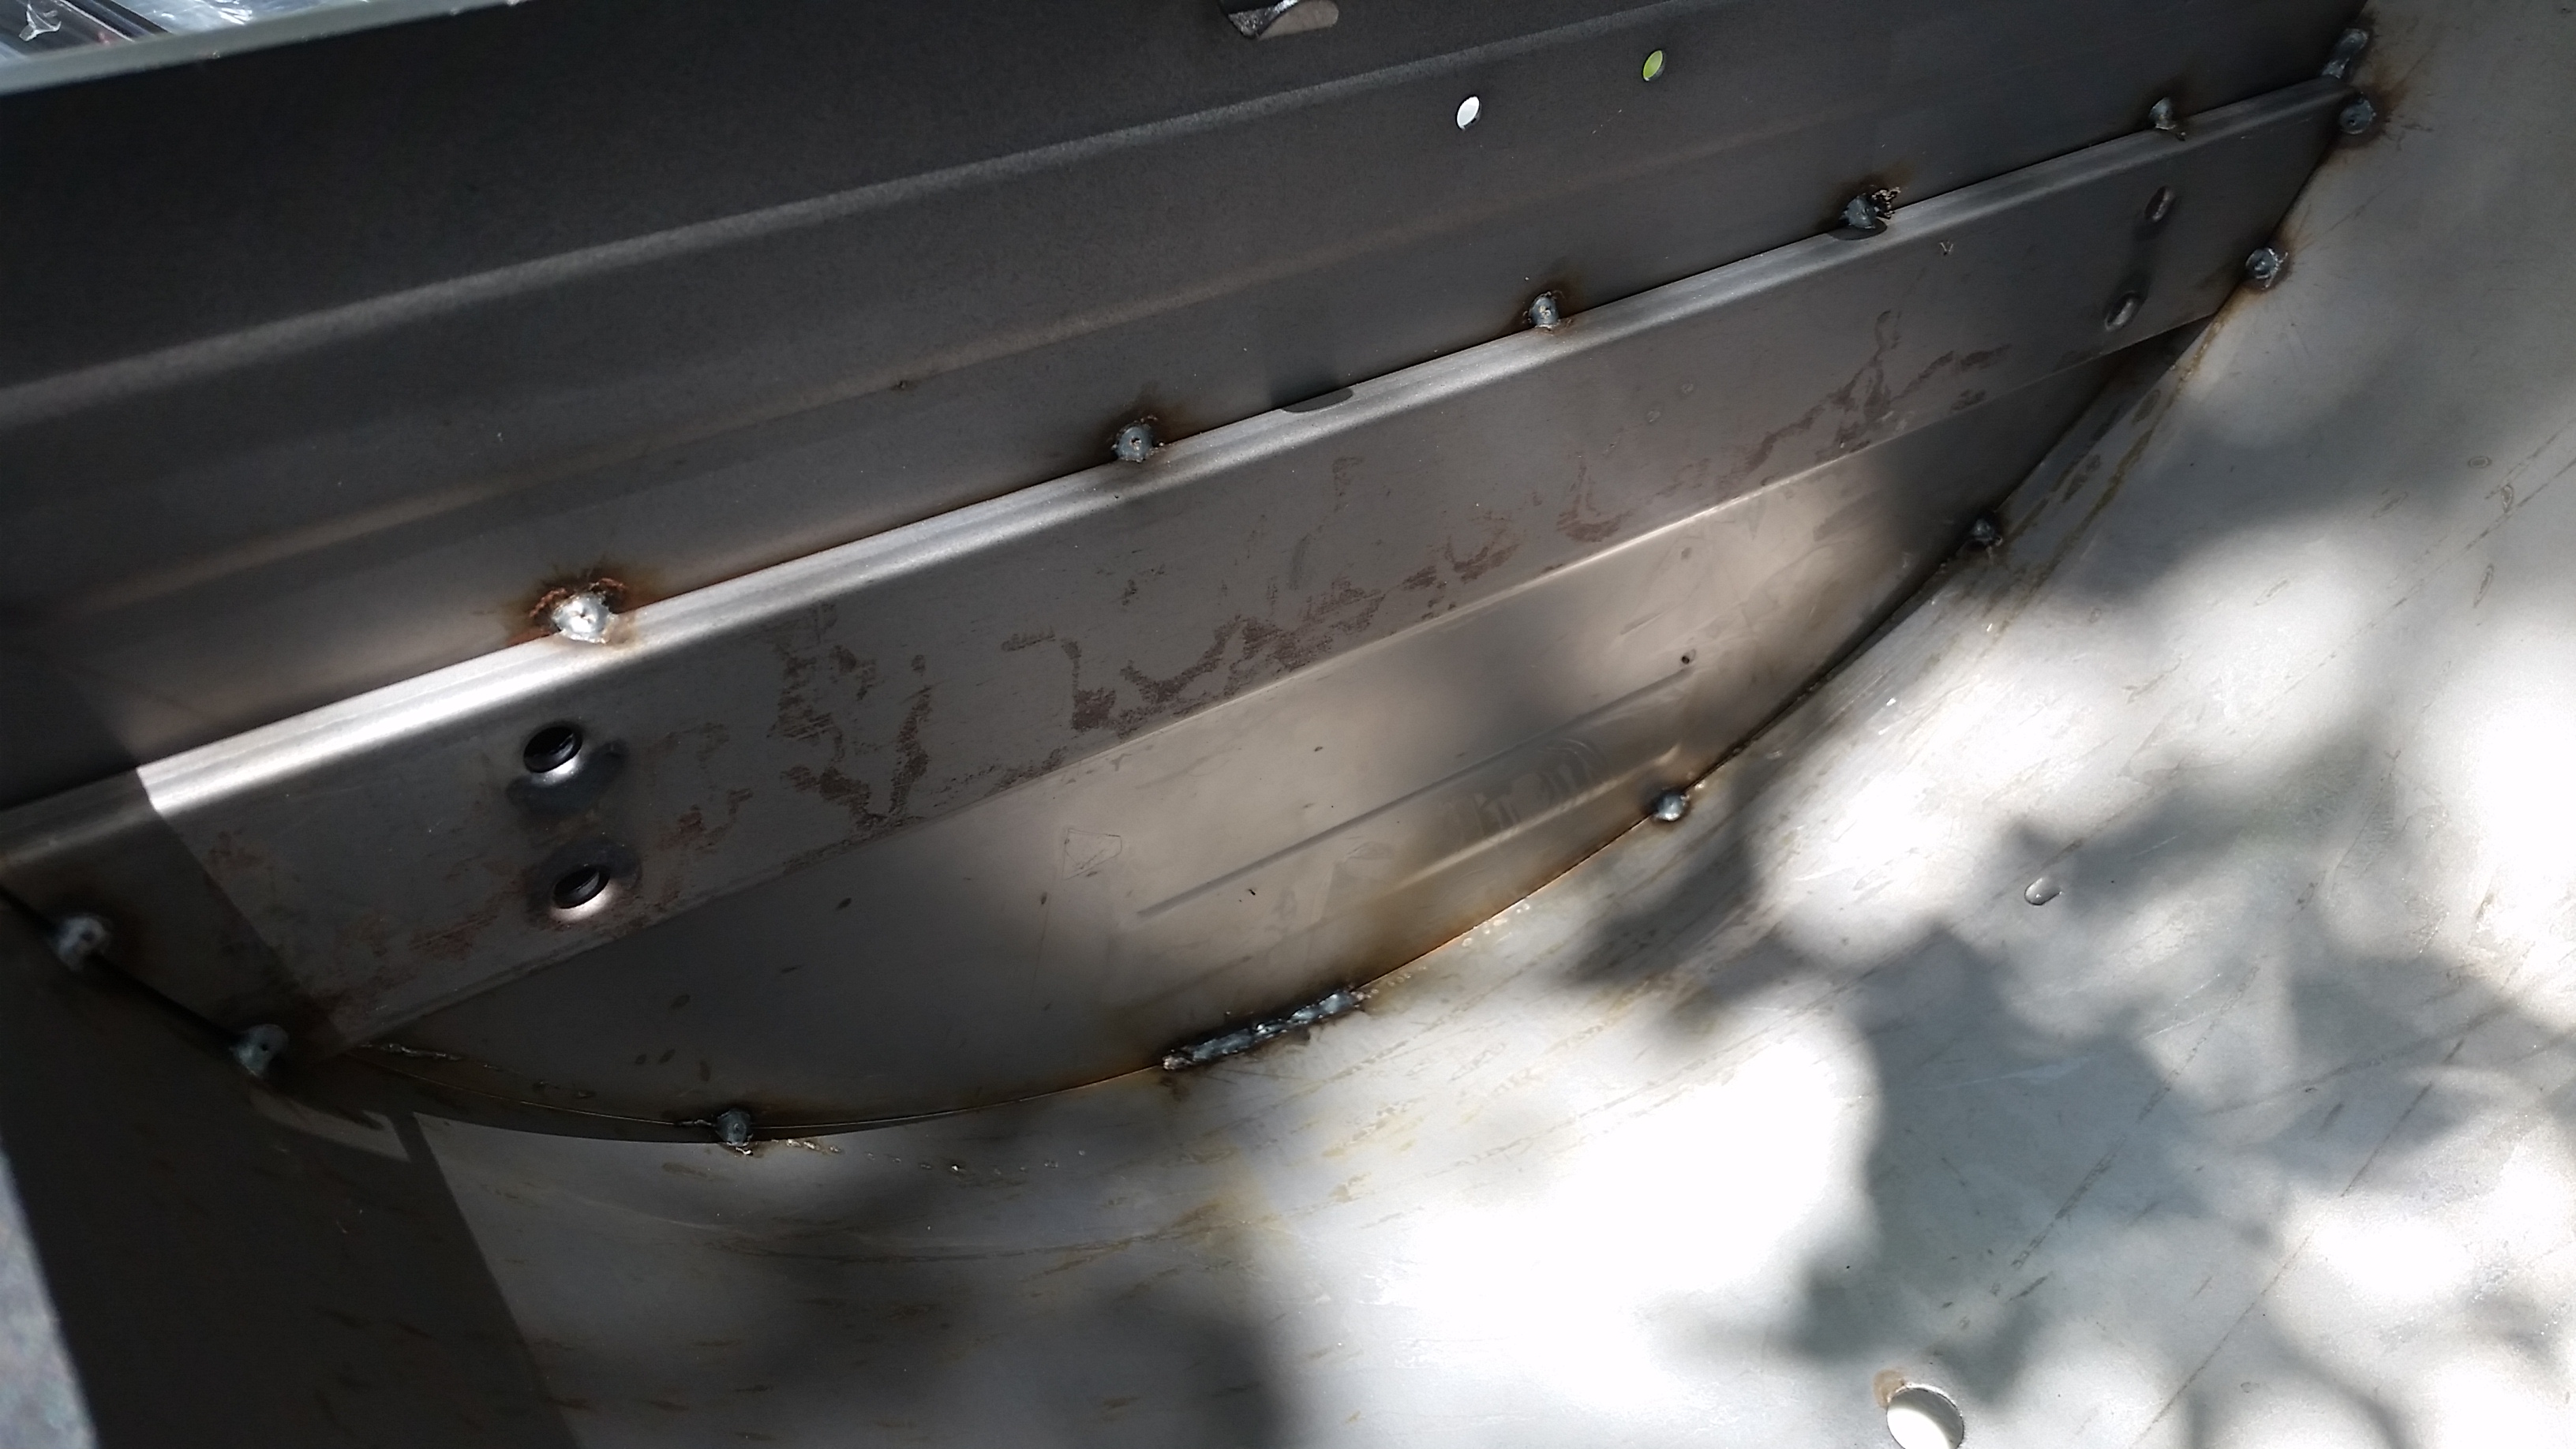 |
| Heavy Duty Cast Iron Grates Has an ash pan available for the cook chamber as well. I removed it after taking the pictures. 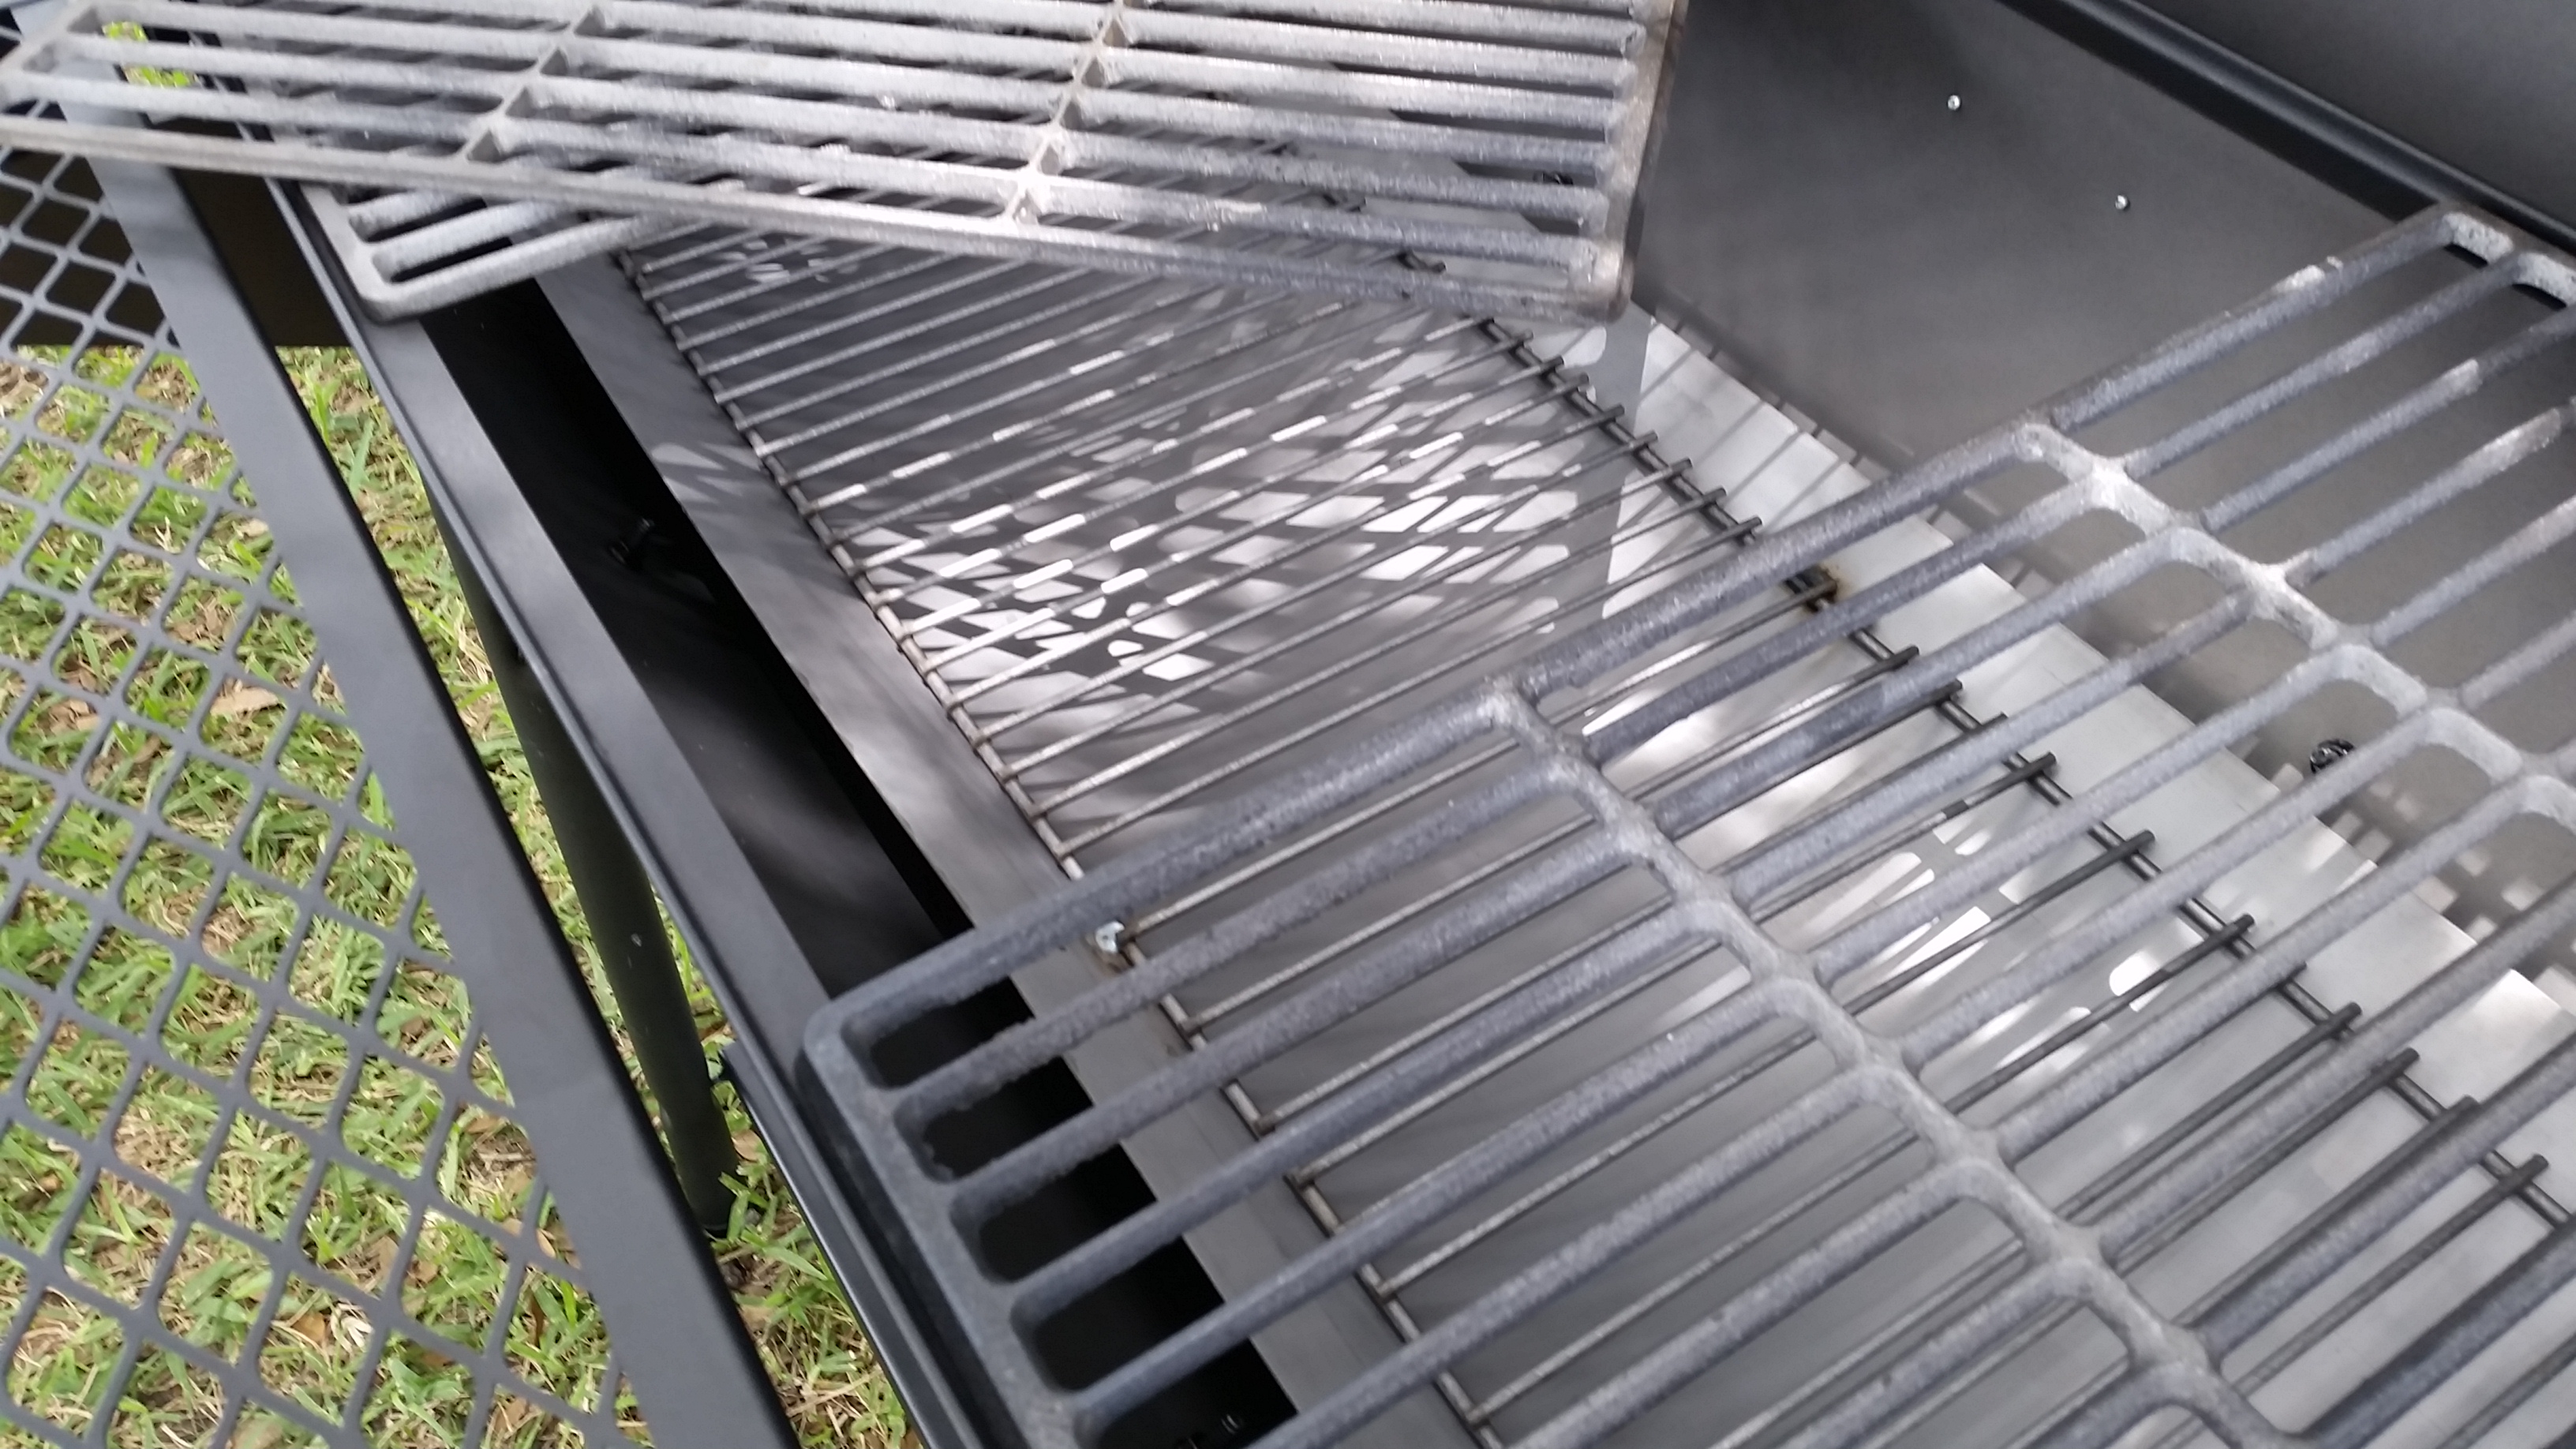 |
A little over an hour, start to finish. Weighs in right around 150 pounds. Great Pull Out Ash Tray on the Firebox 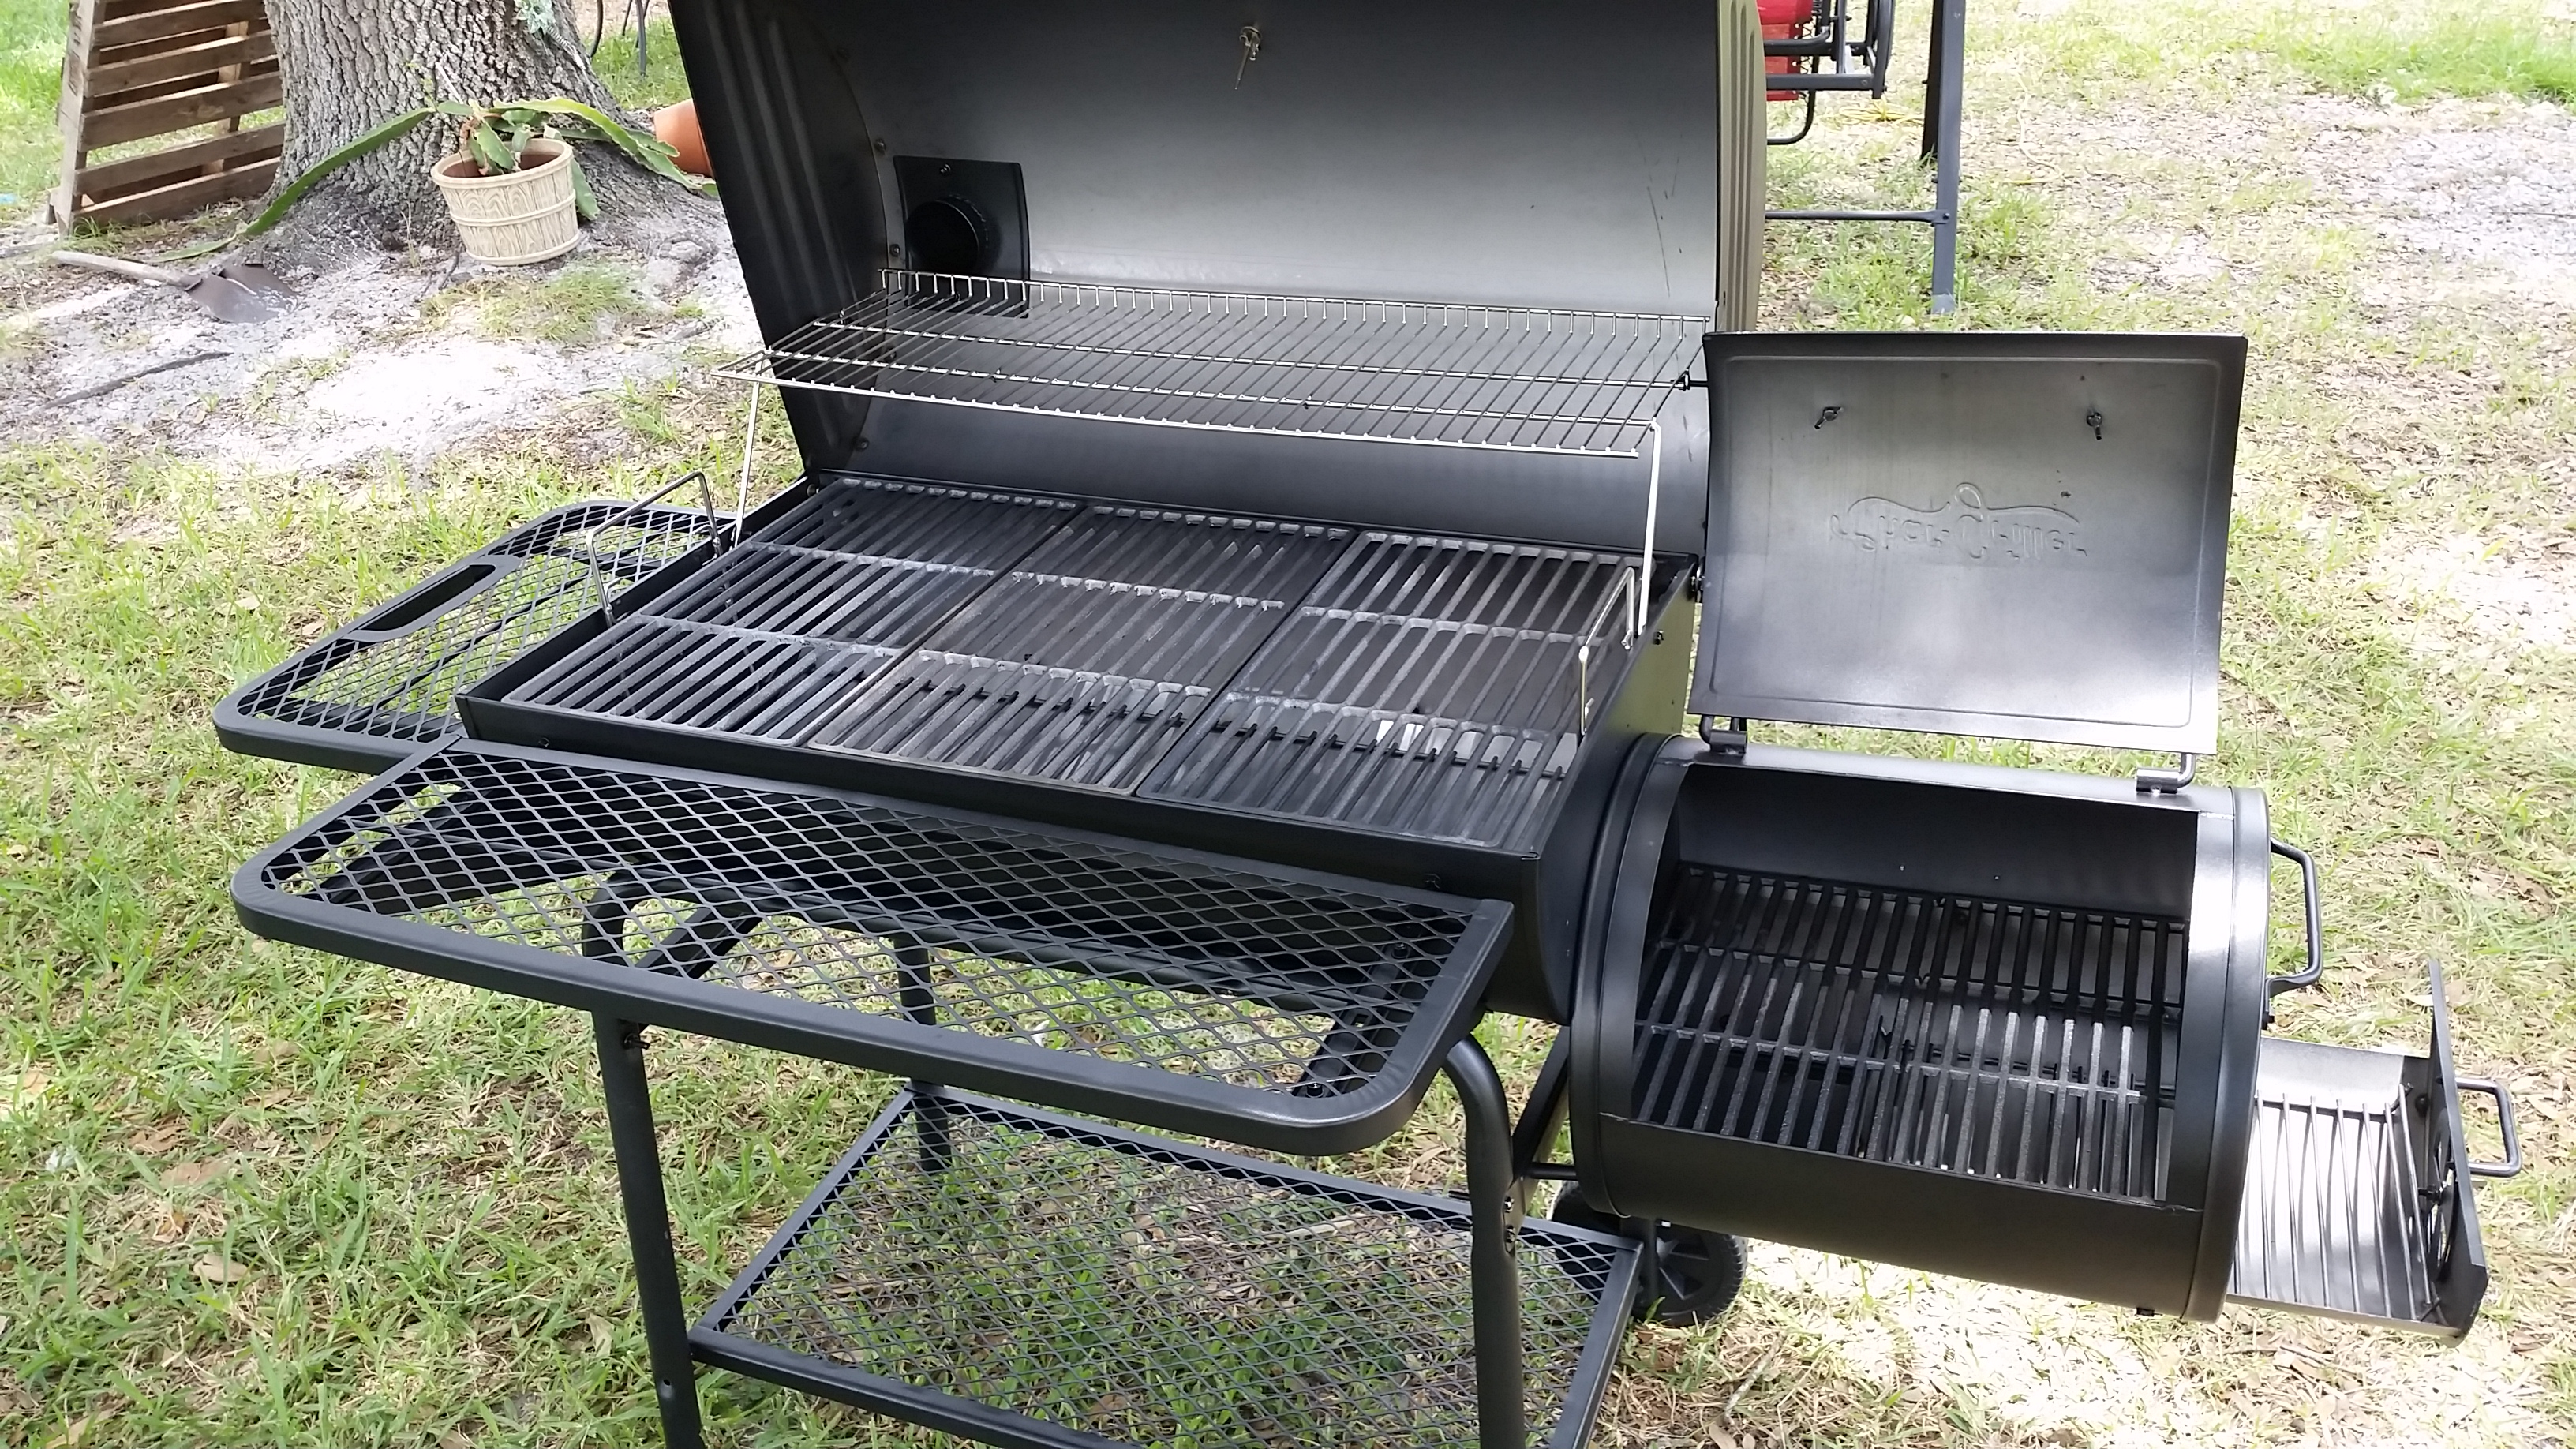 |
As an homage to our old smoker, I removed the deck level thermometer from the old girl (yes, I called it a girl) and installed on our new friend.

Then came time to for first burn and to season the grates. I use Flaxseed oil to season my cooking surfaces. It can create a stronger, harder polymer protective coating than any other cooking oil available. Here is a link to a fantastic article that explains the “perfect” process in detail: The Chemistry of Cast Iron Seasoning
Wipe a thin layer onto the grates |
Get your coals ready |
Heat up the grates. Lather, rinse & repeat. Oooh la la Lather, rinse & repeat. Oooh la la |
Since we were in a bit of a hurry to get a half of a wild hog (and some eggs) into smoke, I opted for a real quick seasoning out of the gate. 2 heat & oil cycles – then off to the races.
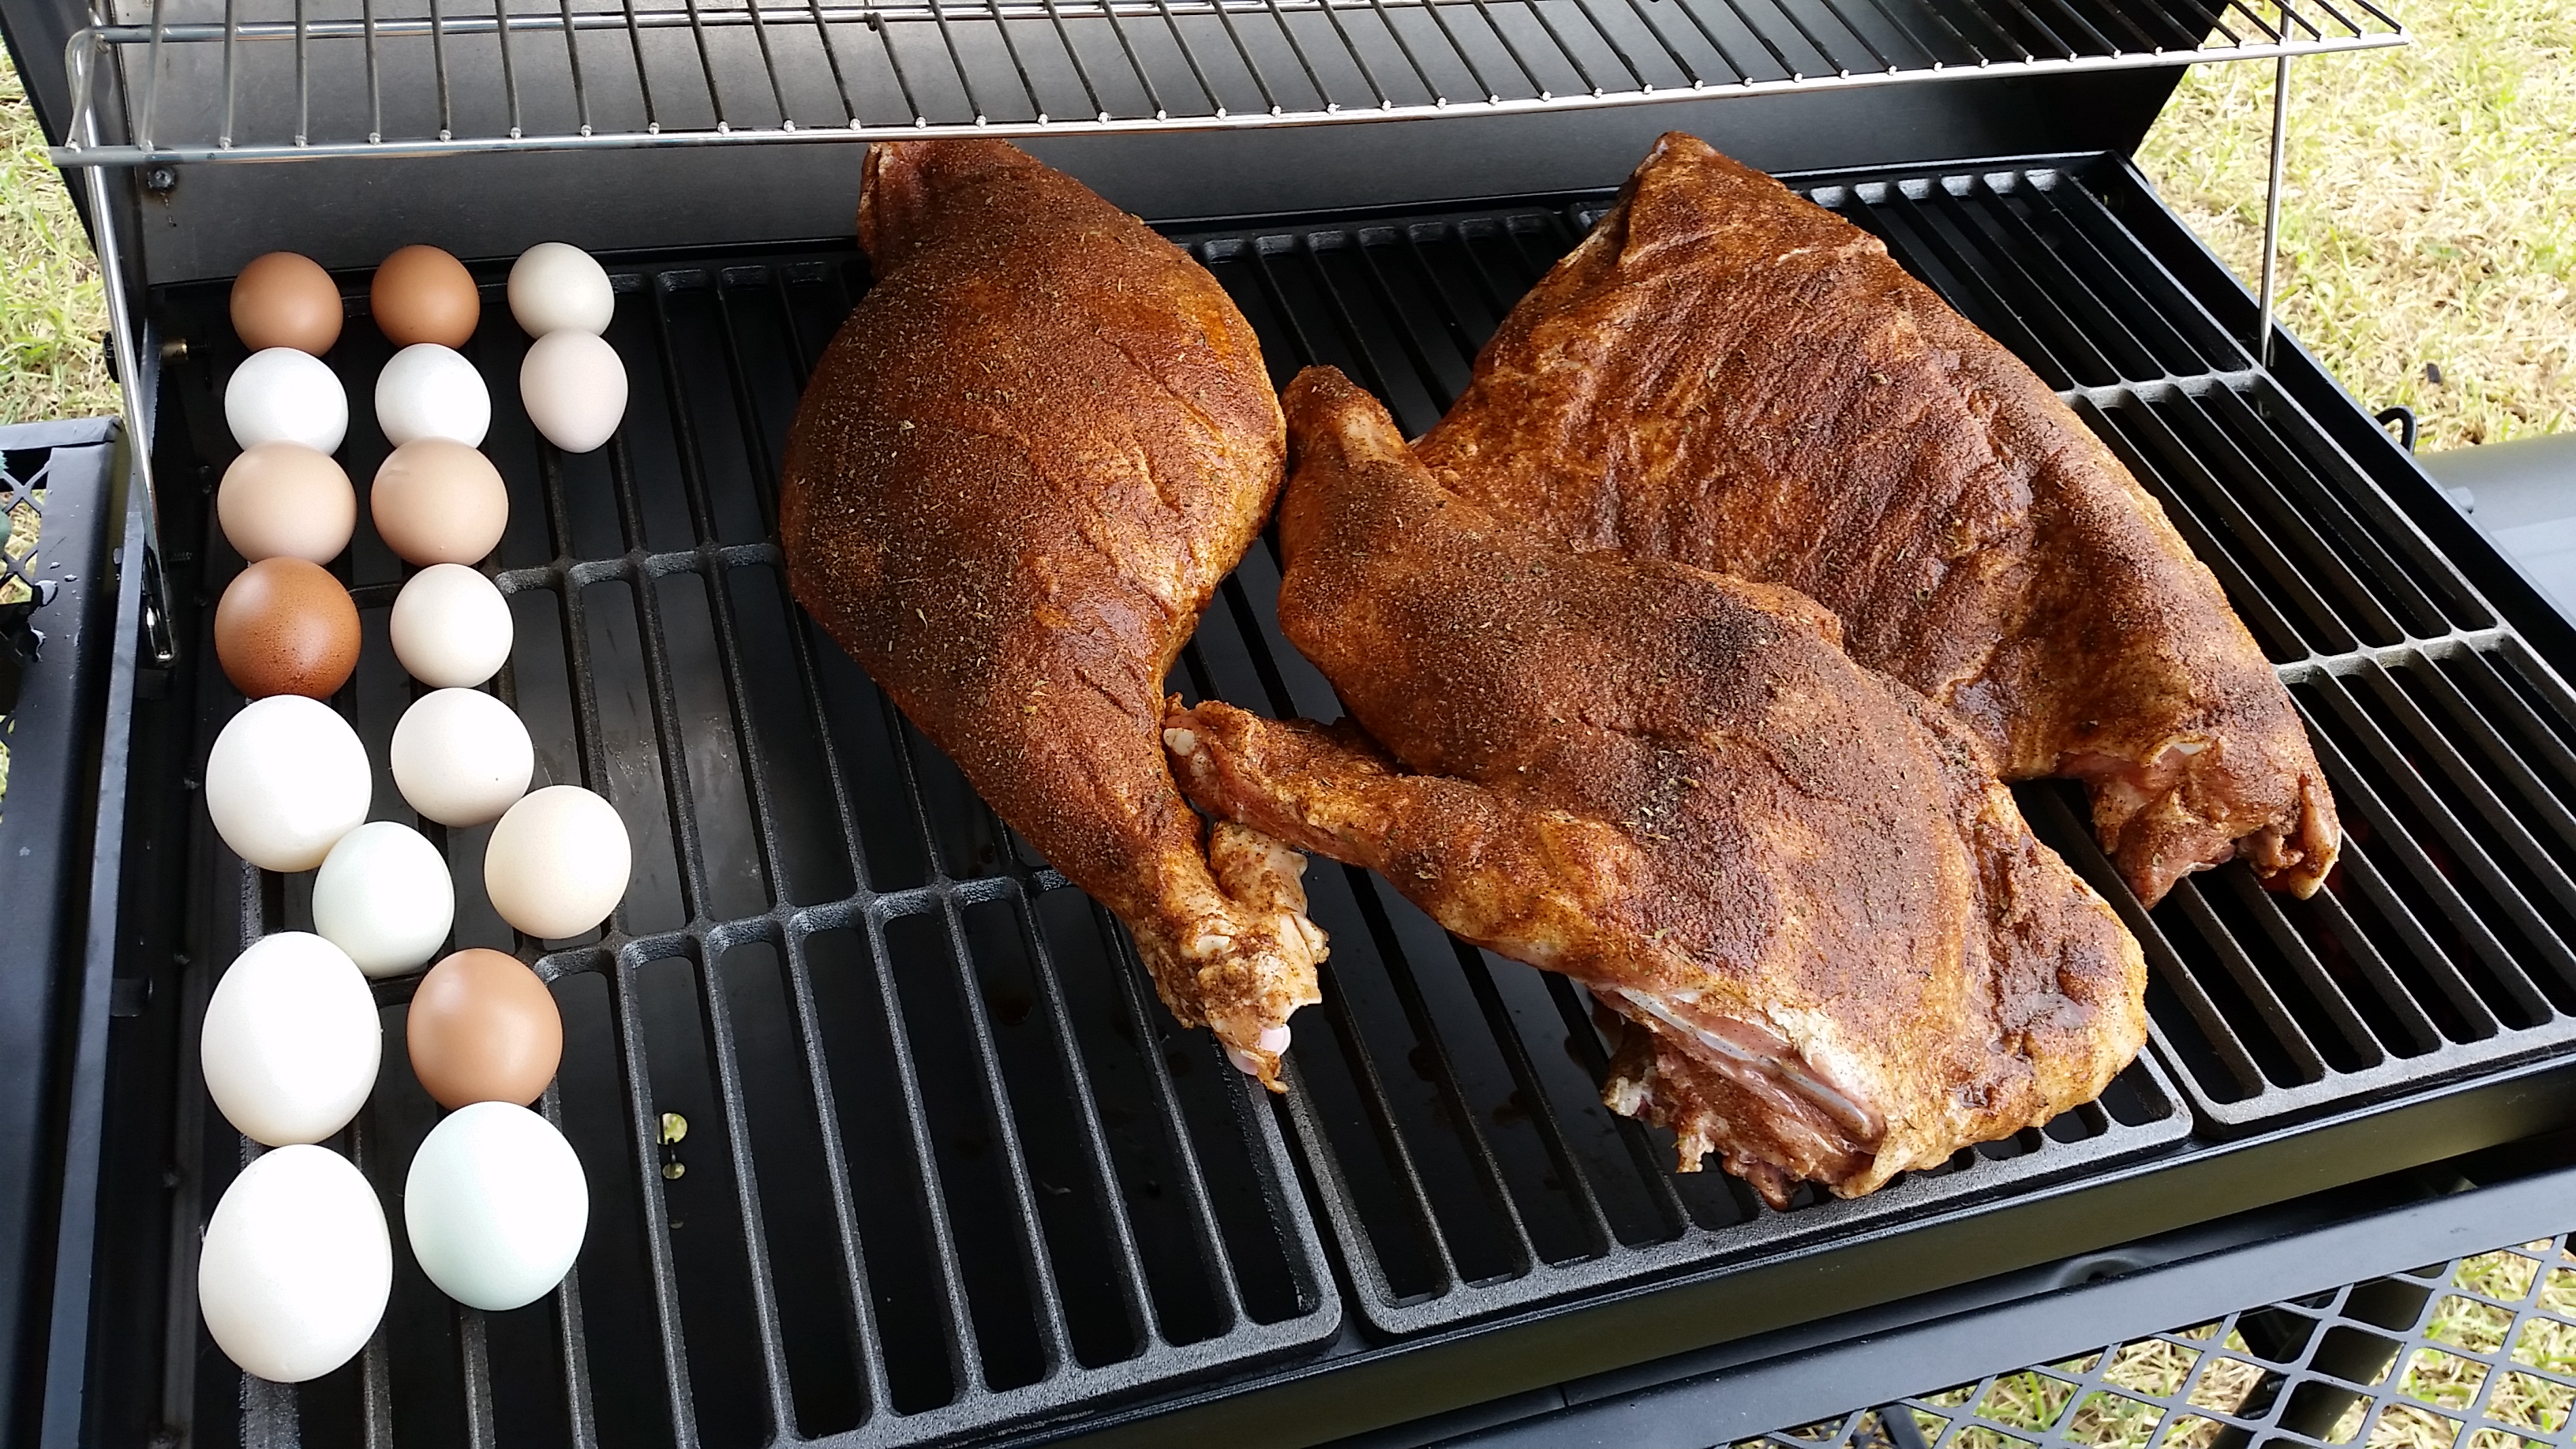
The temperature at deck level vs upper rack became extremely apparent at this point. If you were to only go by the thermometer that comes with the unit, you would NEVER finish cooking. LOL
225 on the deck, much hotter up top! |
Just about the time the eggs were ready, we threw on some potatoes as well. *Smoked Tater Salad* 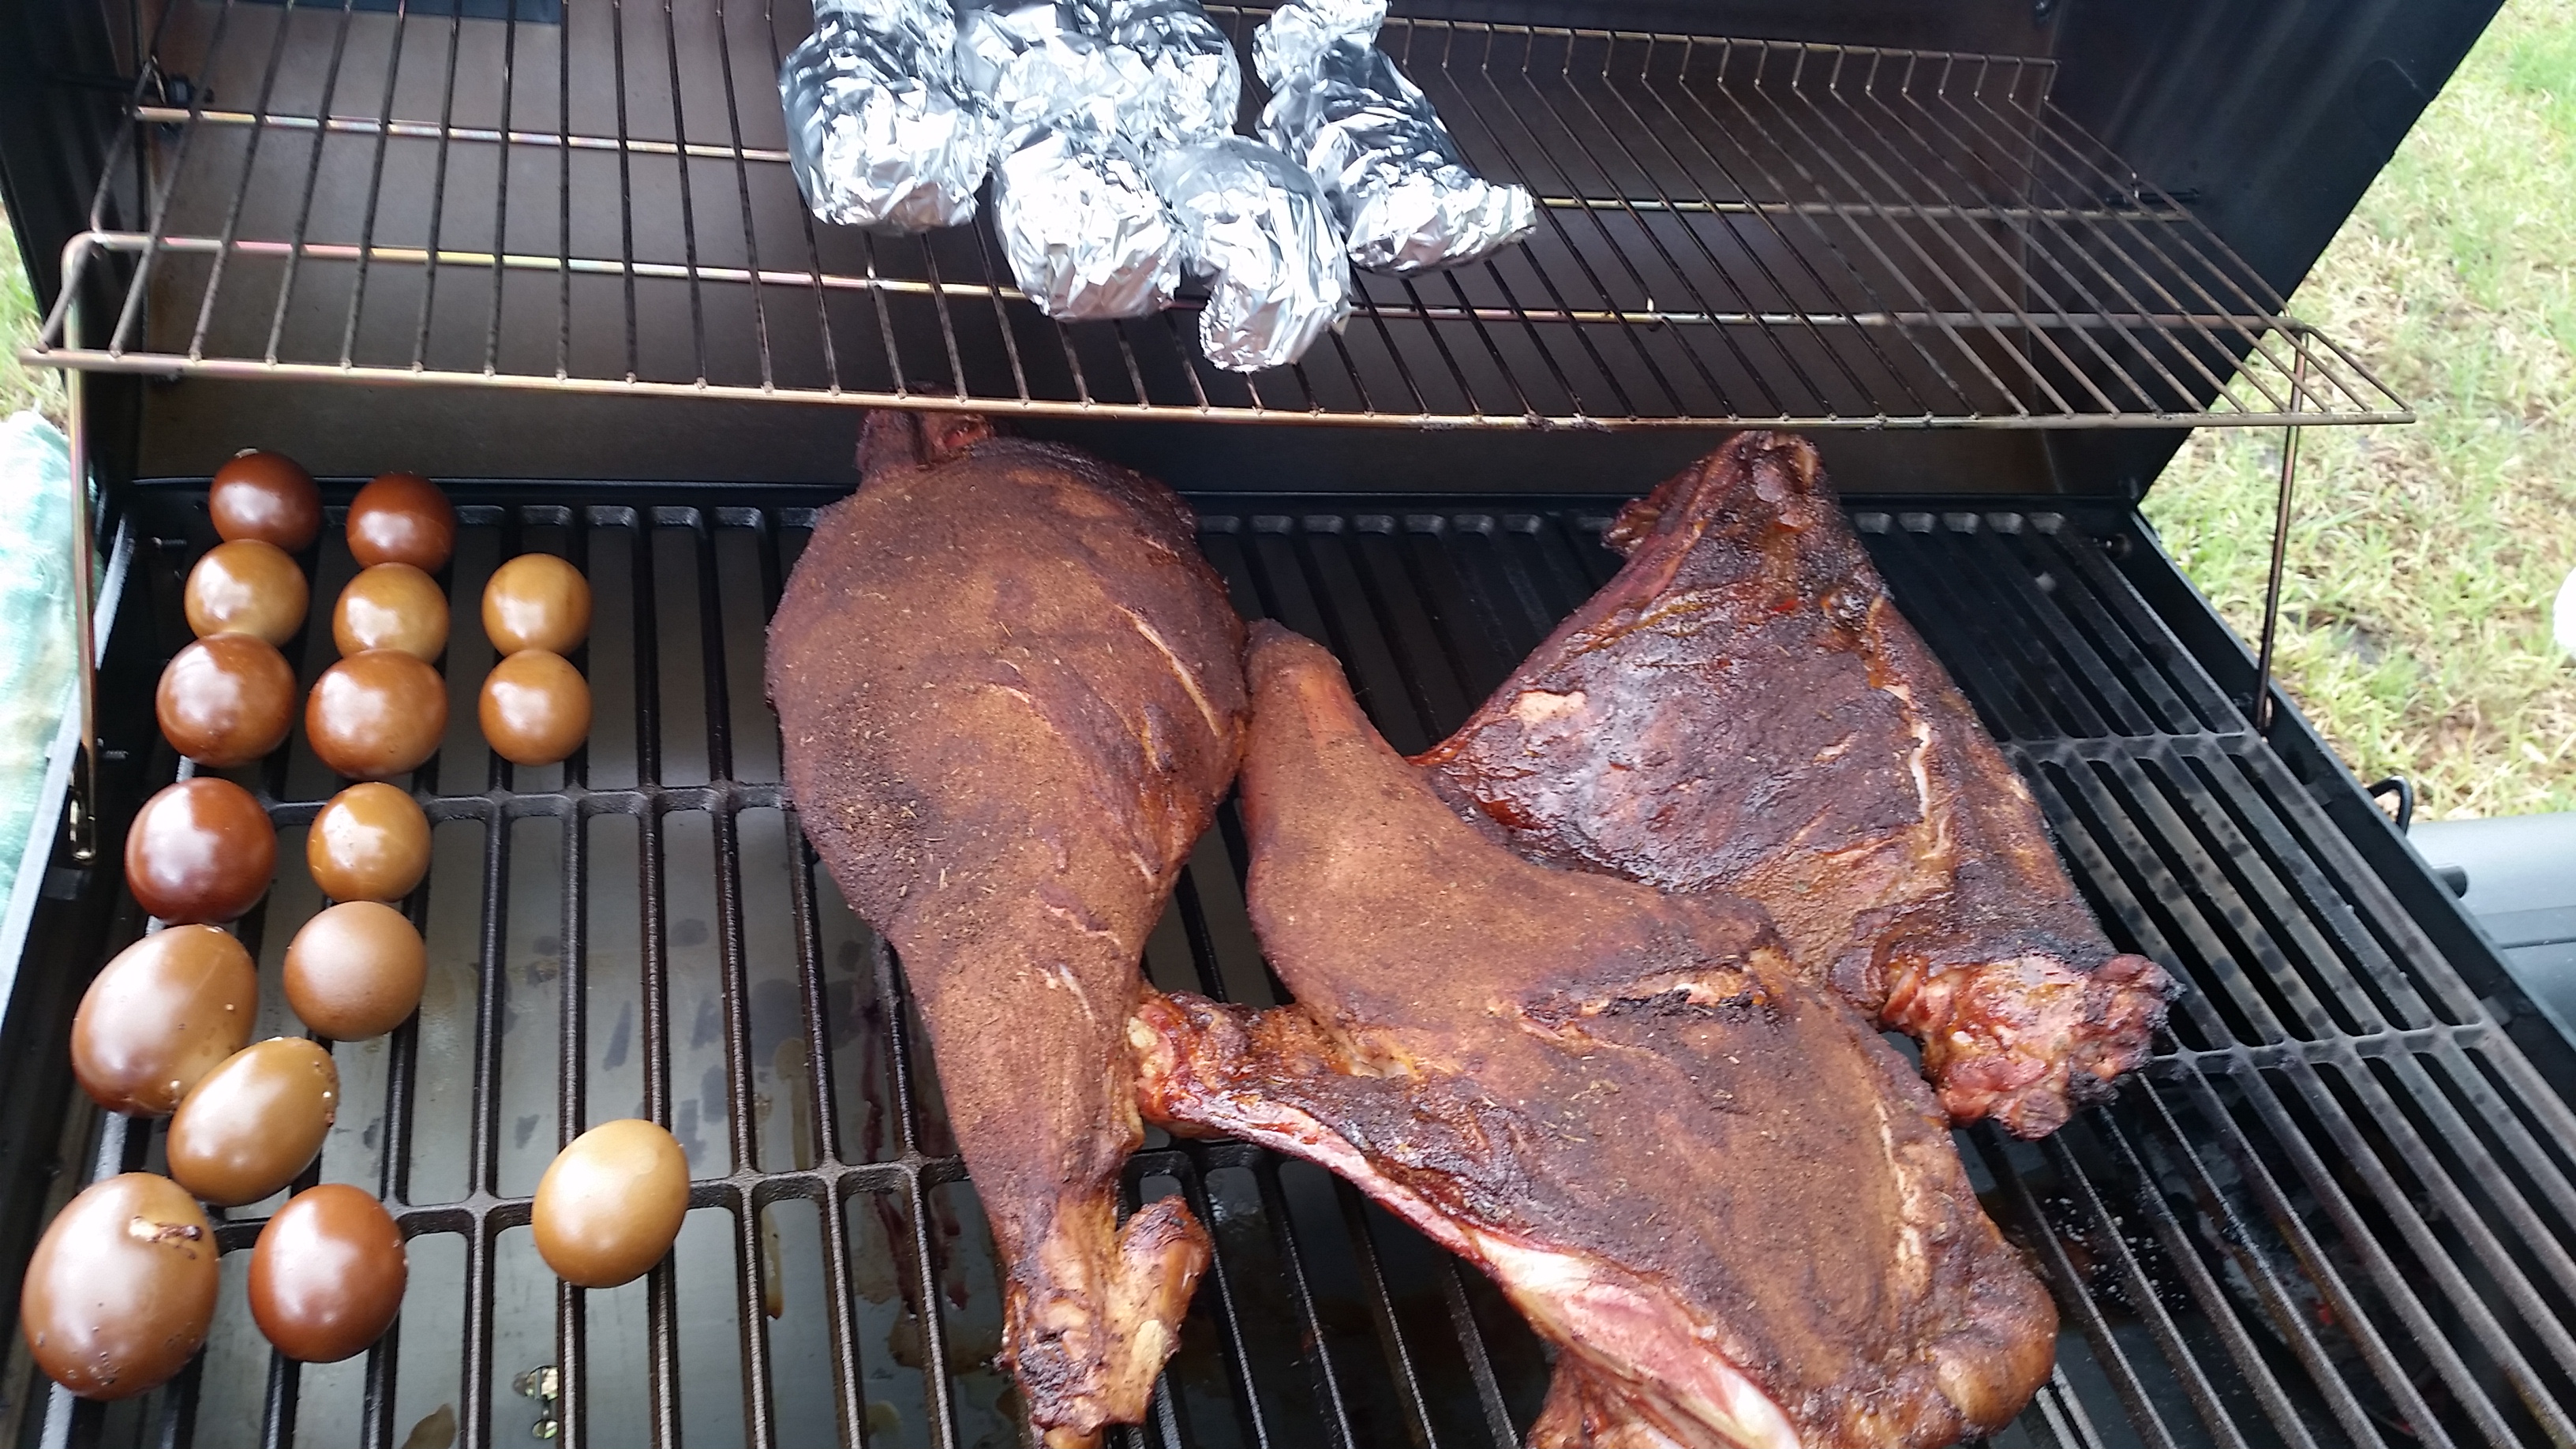 |

I am very impressed with how well the finish on the firebox held up after not only seasoning, but a 9 hour cook.
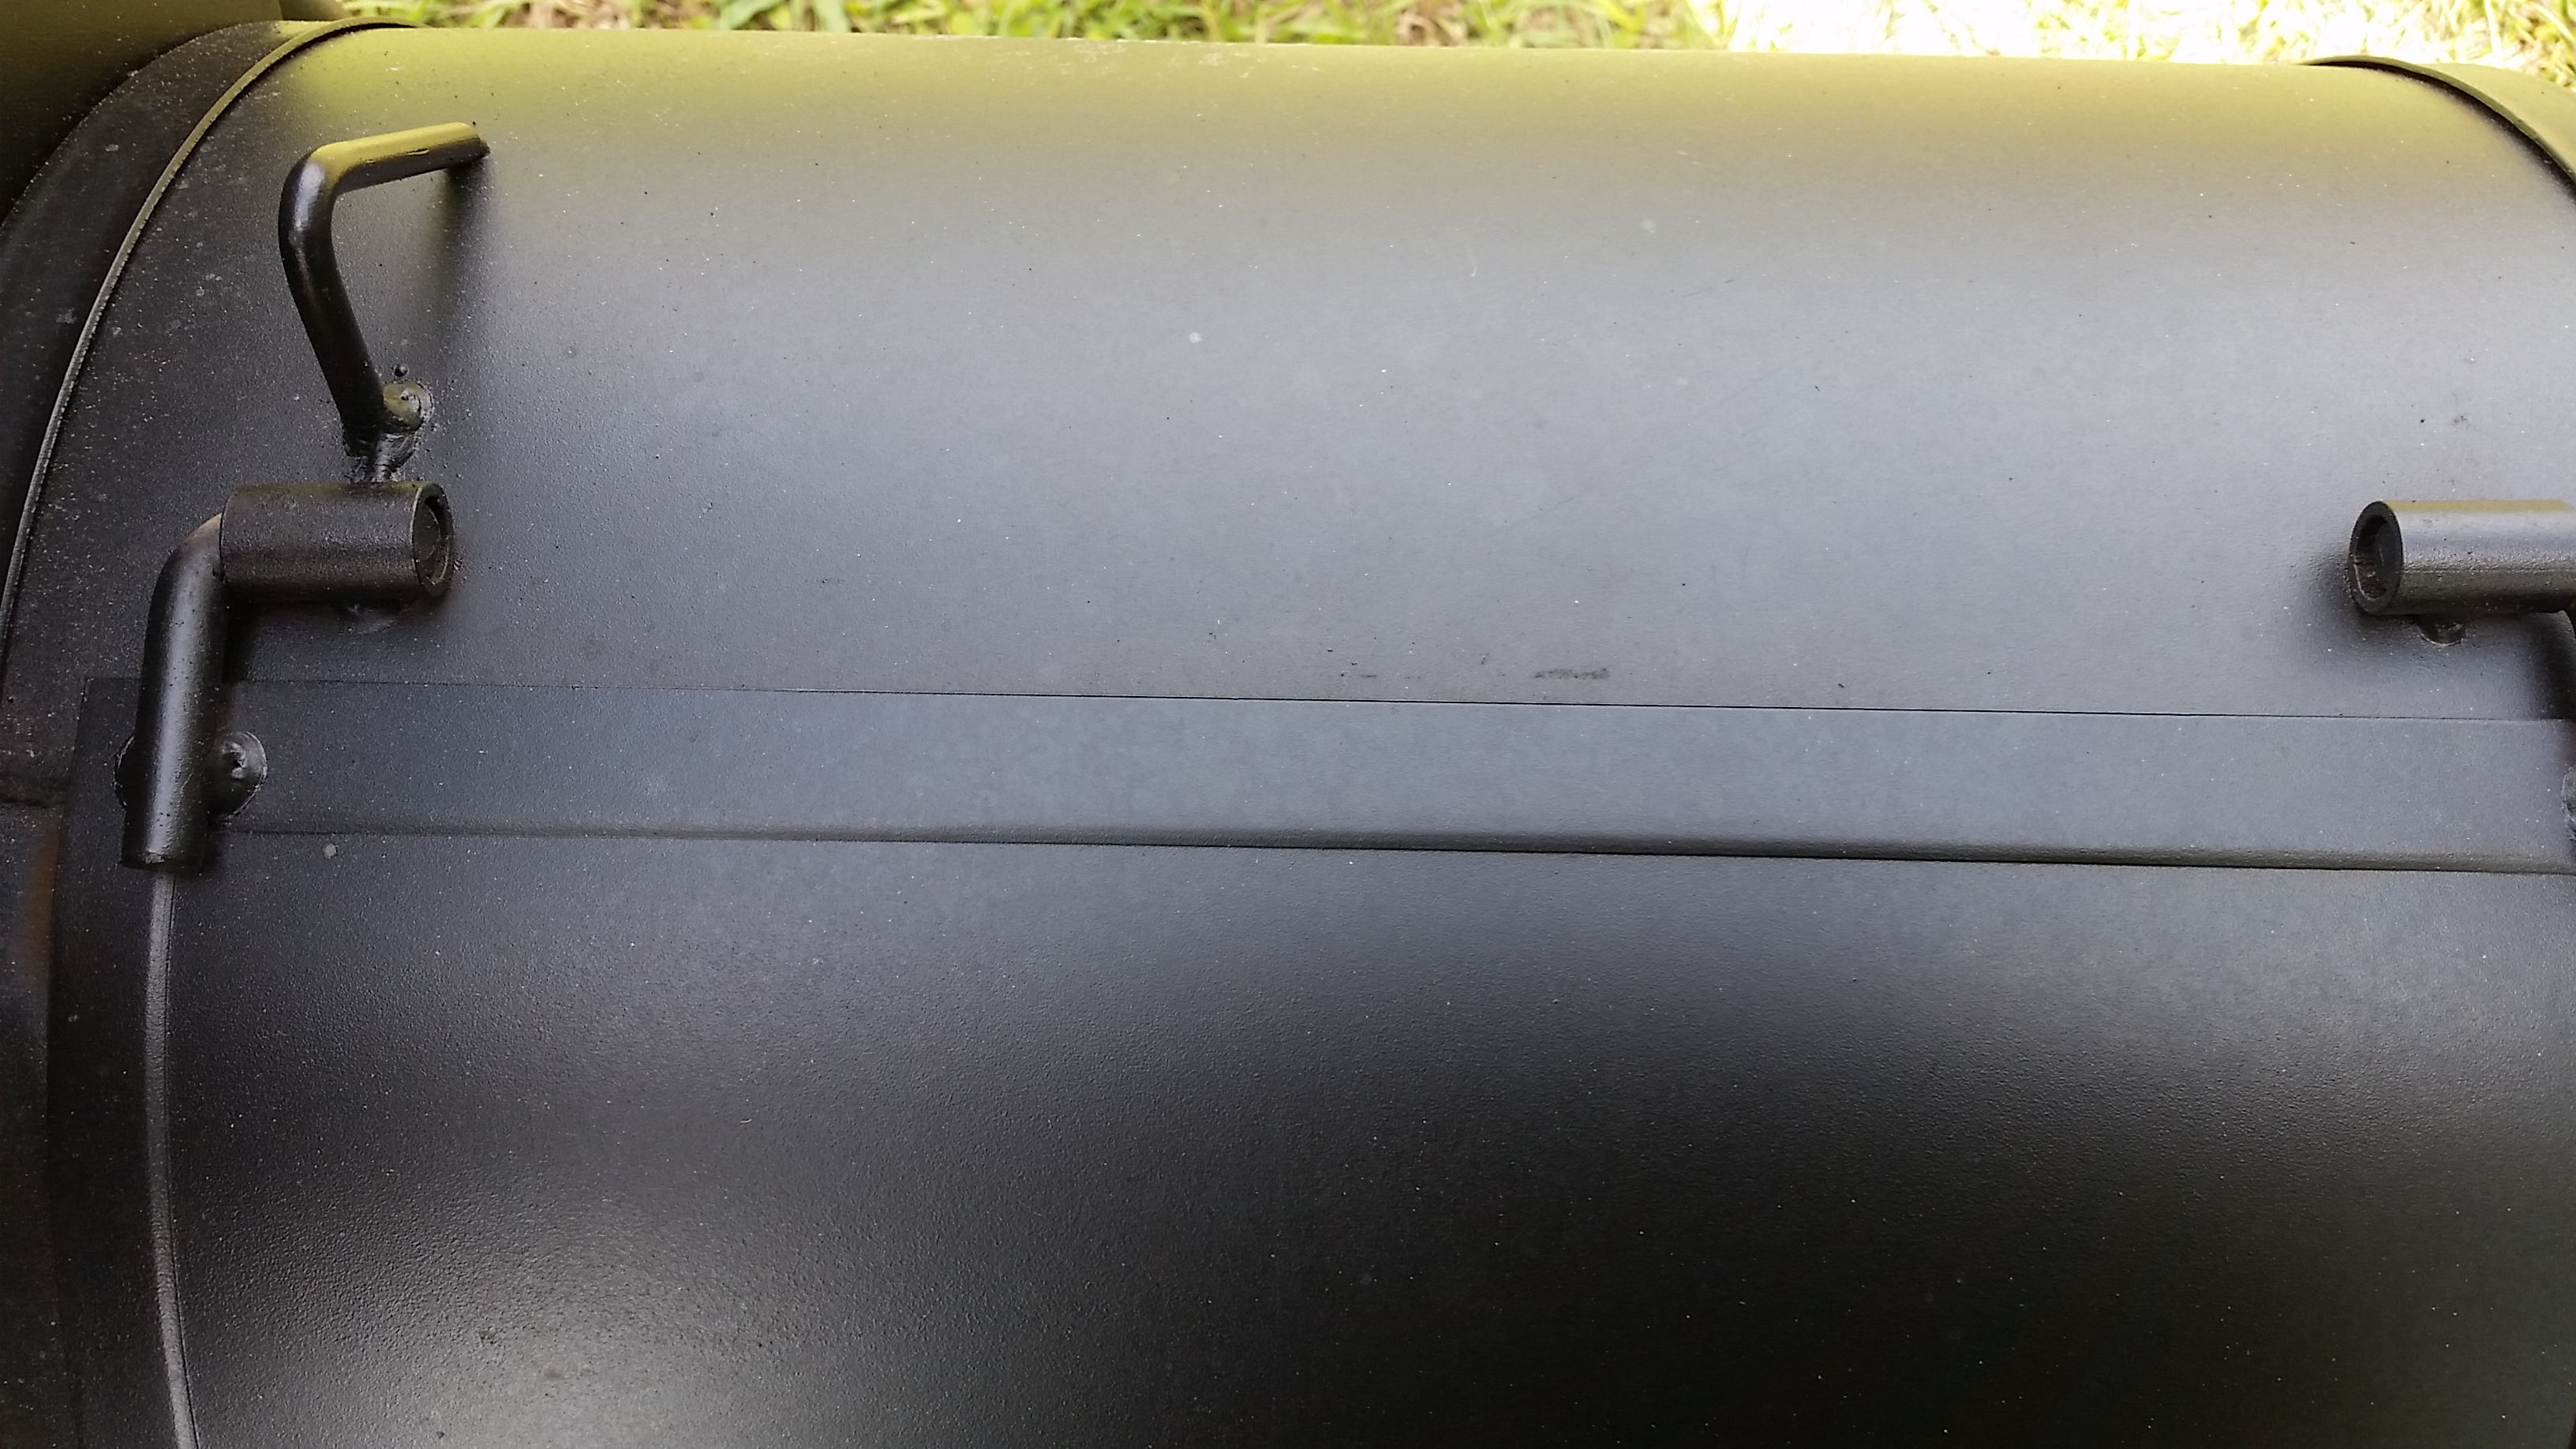
Visible heat leaks at the corners |
Visible heat leaks at the corners |
Seems that the cook chamber is pre-drilled for mounting a rotisserie (both ends). Not something I will be doing, so these are other spots that needs to be sealed up.

THE FIX
First things First
SEAL IT UP!
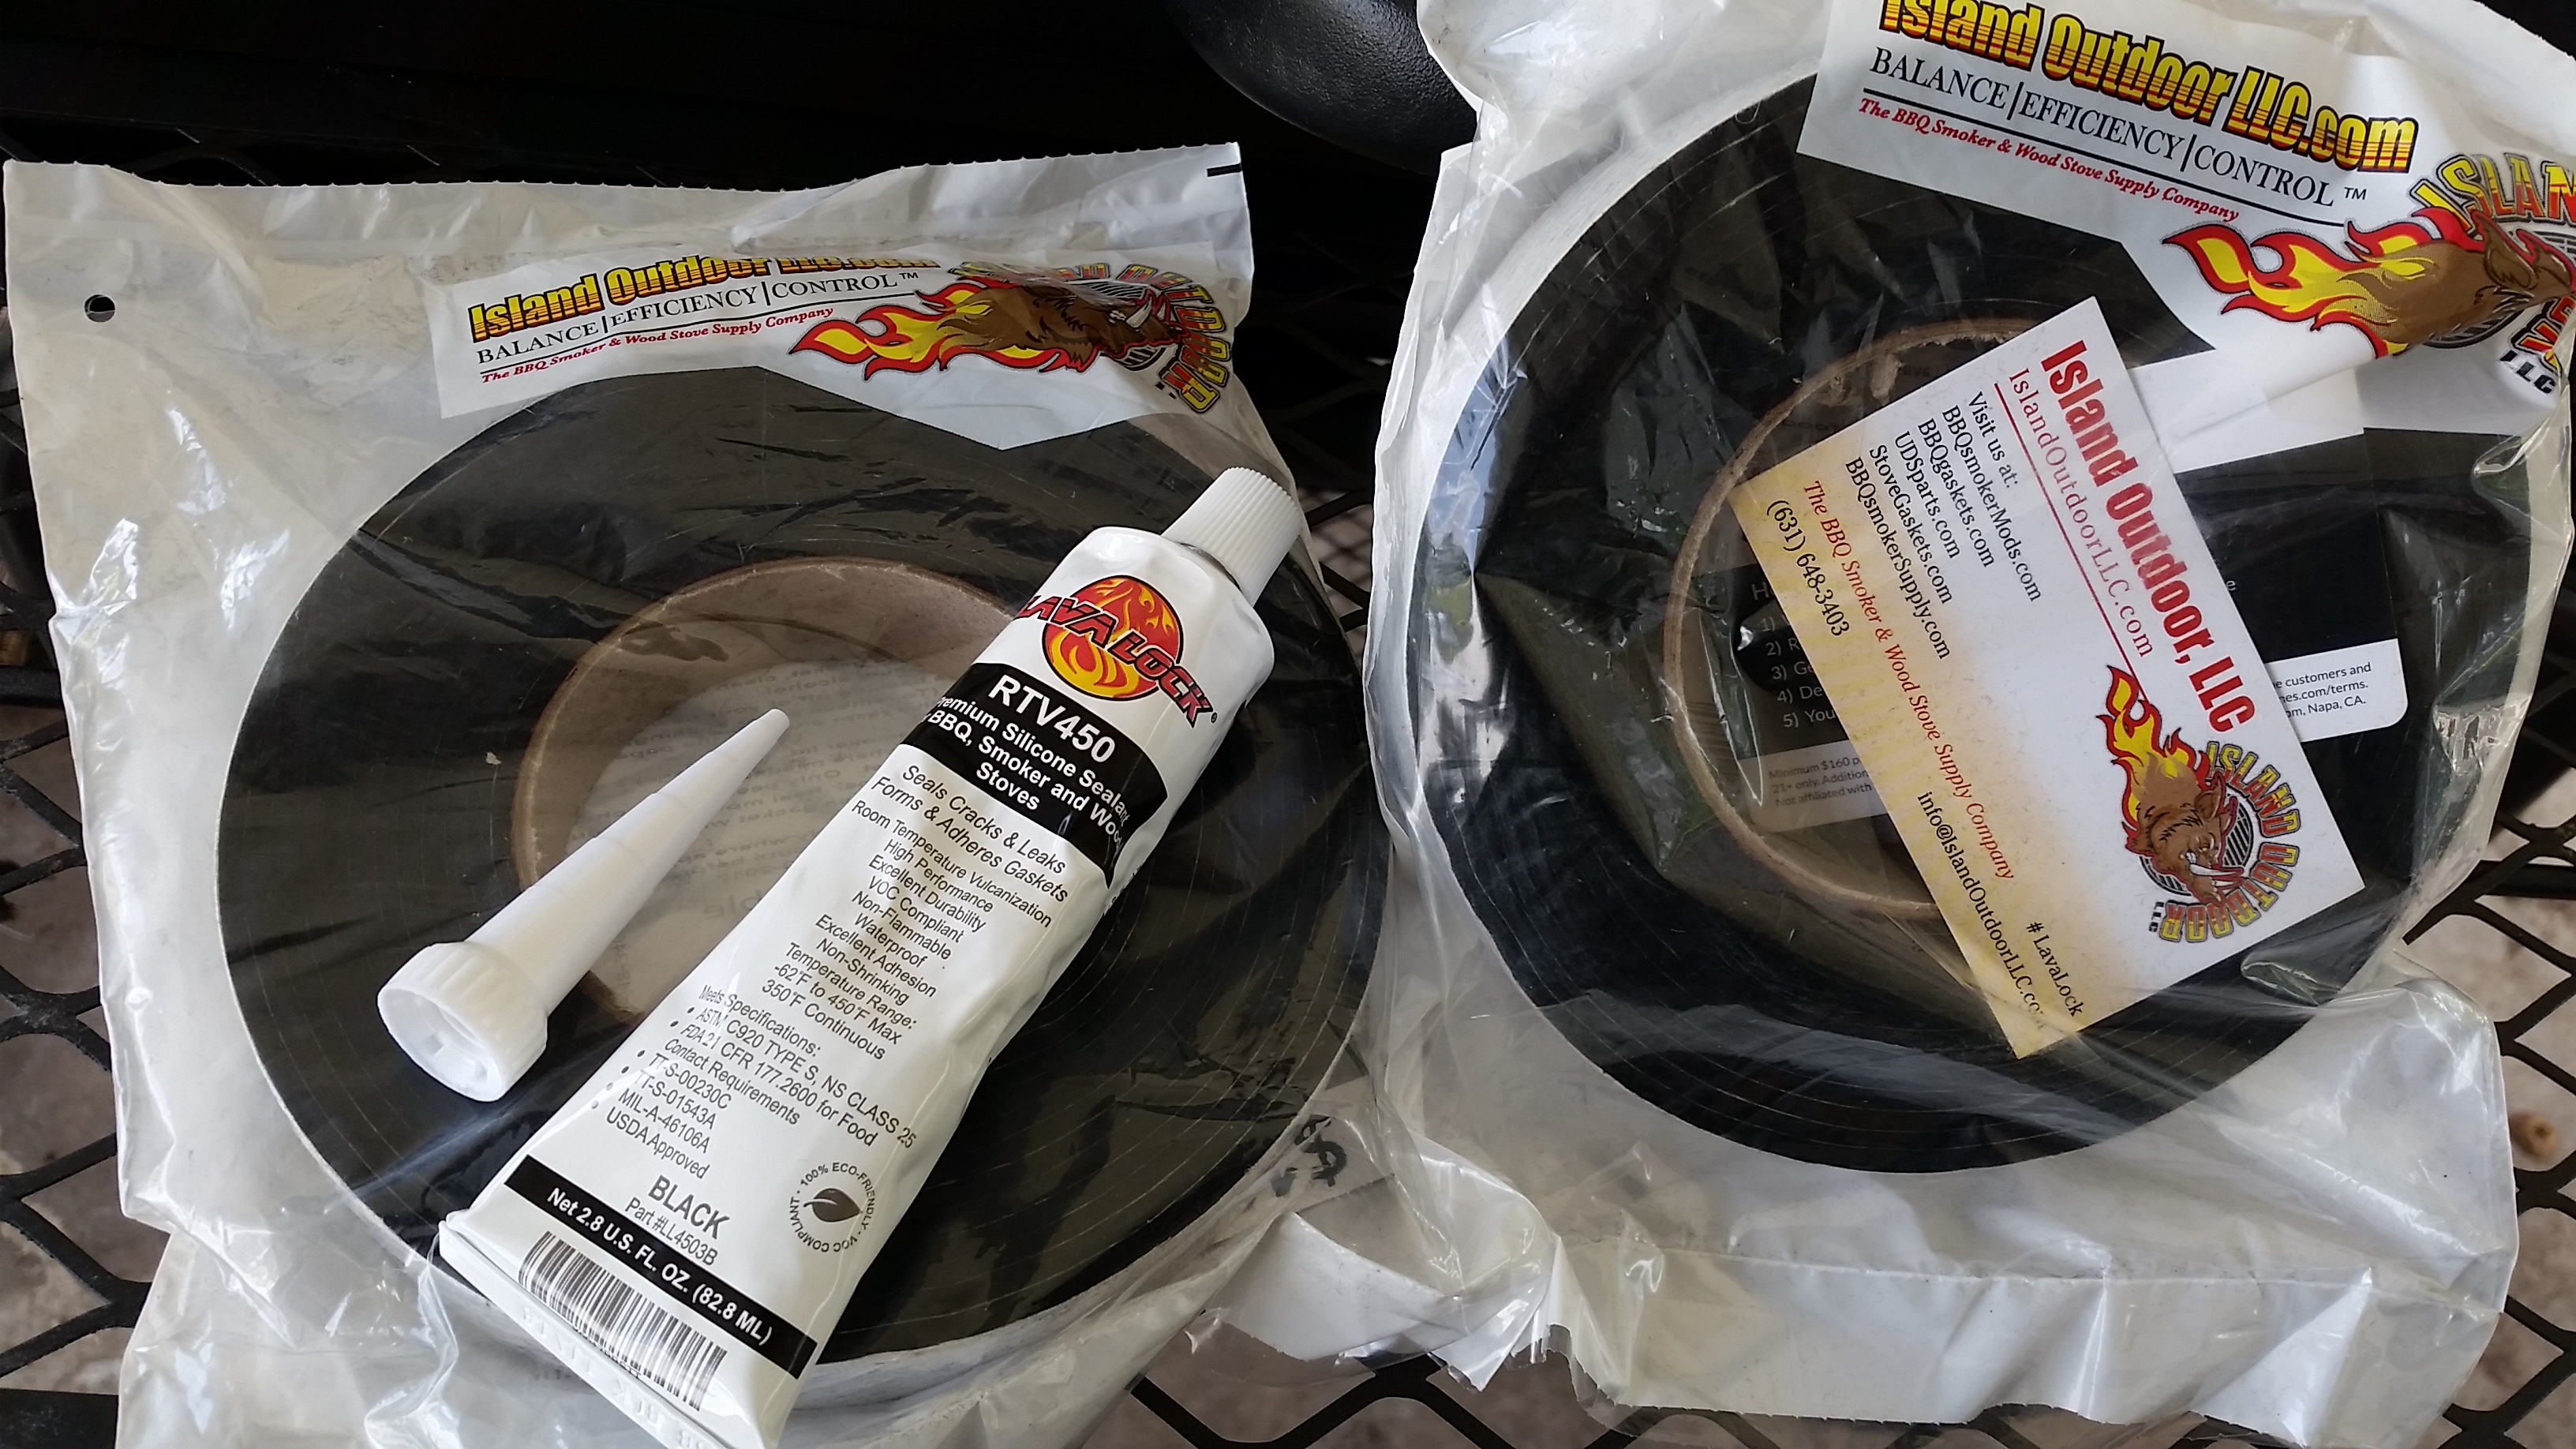 2 Packs of FireBlack 125 Black Nomex Gasket (15ft) and a tube of LavaLock Black High Temp RTV Silicone. **Note** For sake of appearance – I am trying out the RTV Black 450, in hopes it will hold up. I may have to go to the Red(650).
Between firebox and cook chamber |
Base of stack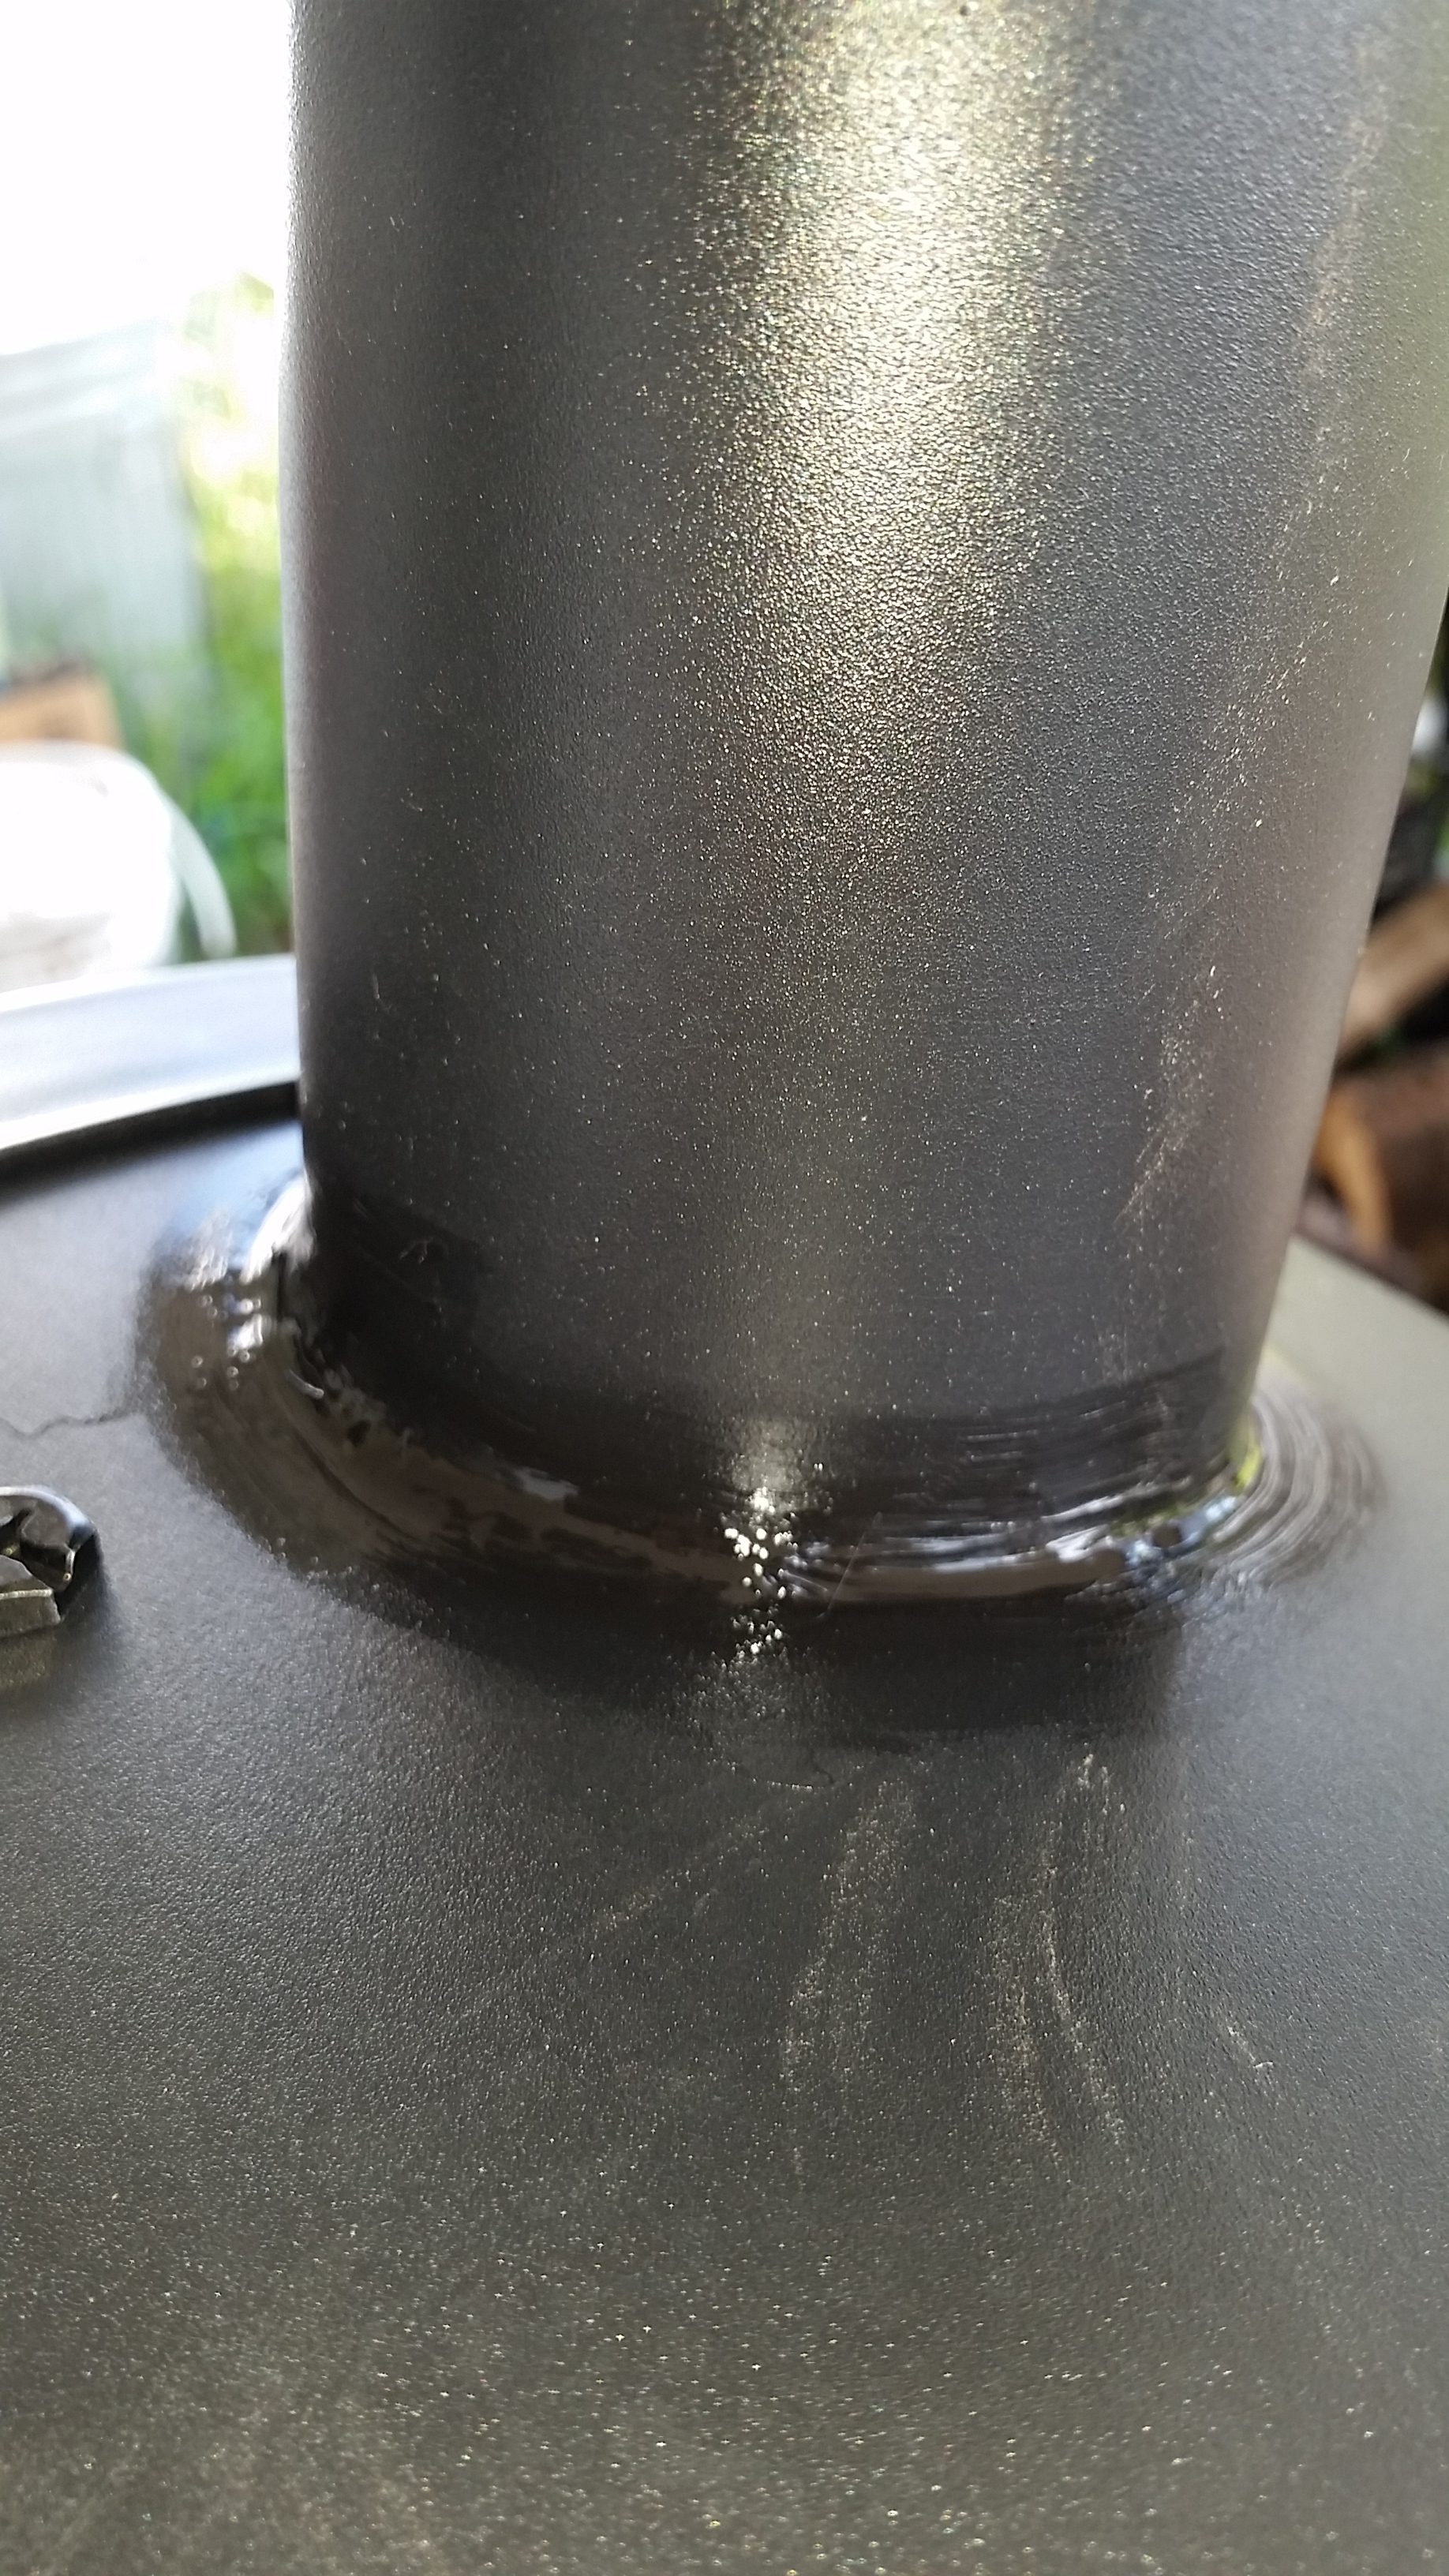 |
Applied a single gasket layer to the firebox lid.

Required 3 layers of gasket material to seal the back and sides of the cook chamber.
Just a single layer on the front edge of the lid.

However, it should hold temp very well in the smoke chamber now.
It holds a business card quite snug.
 |
 |
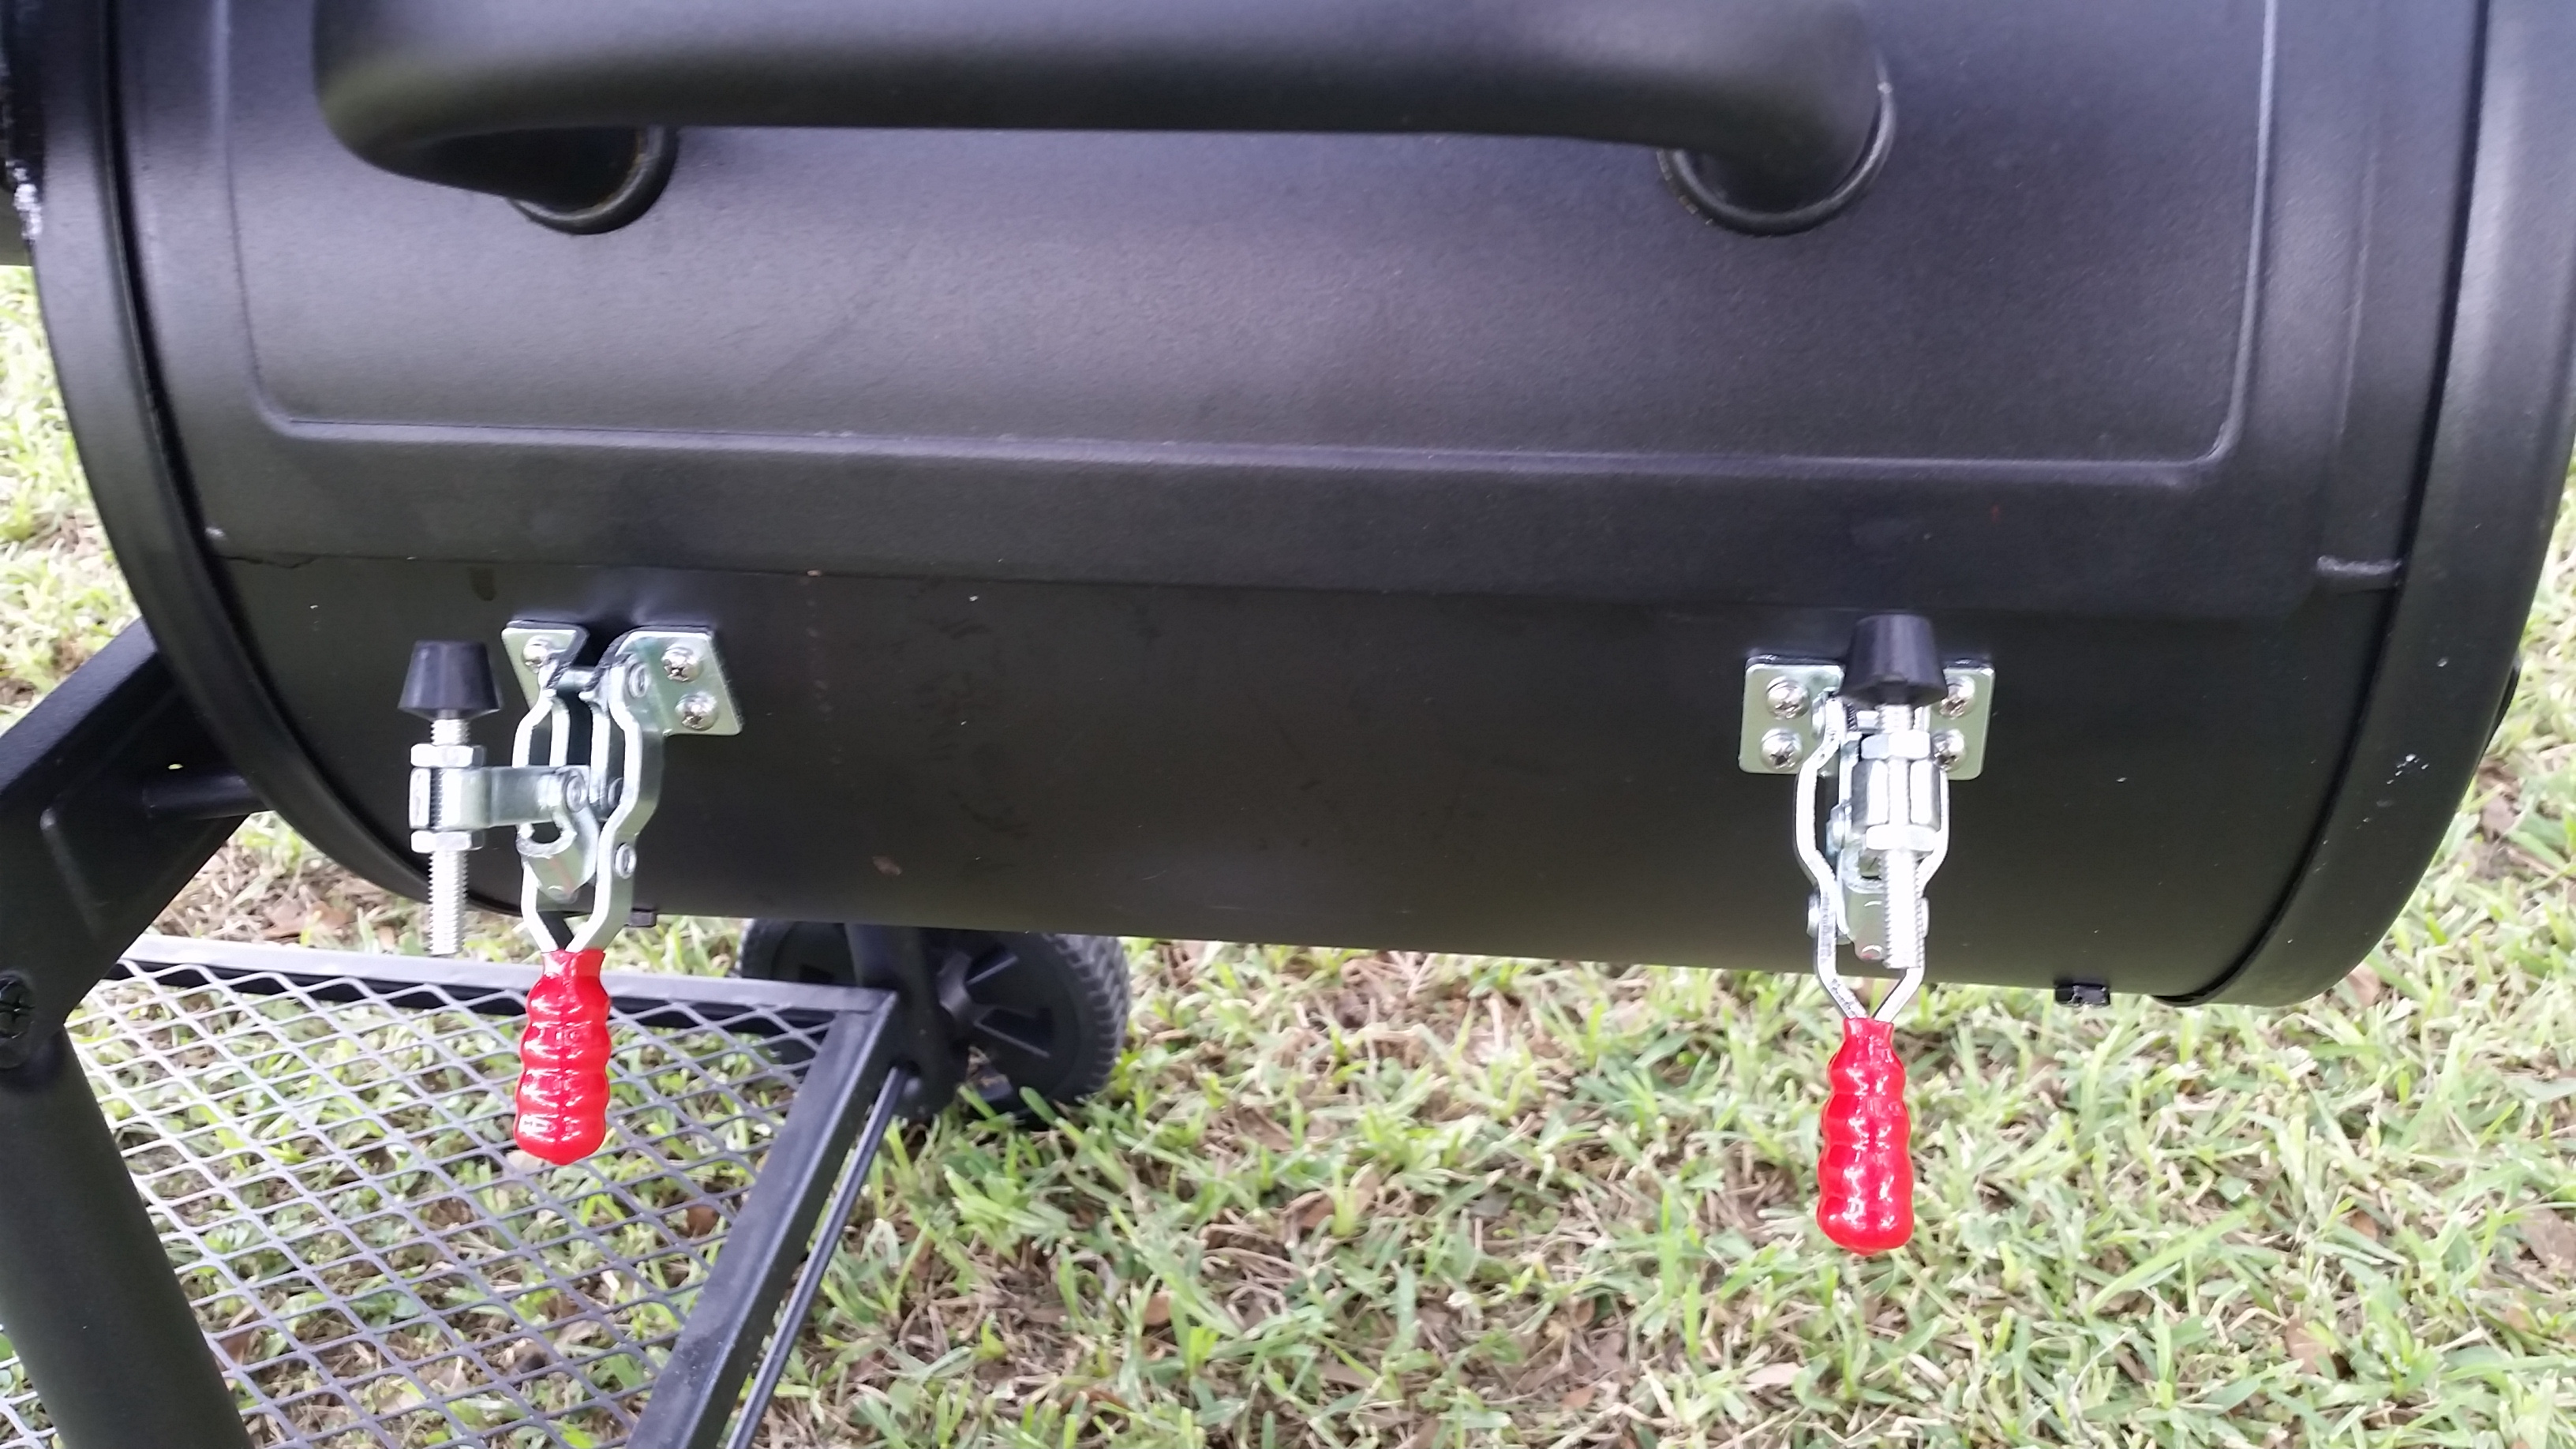
I went on to add lid latches, two extra deck level thermometers and low budget tuning plates.
LID LATCHES
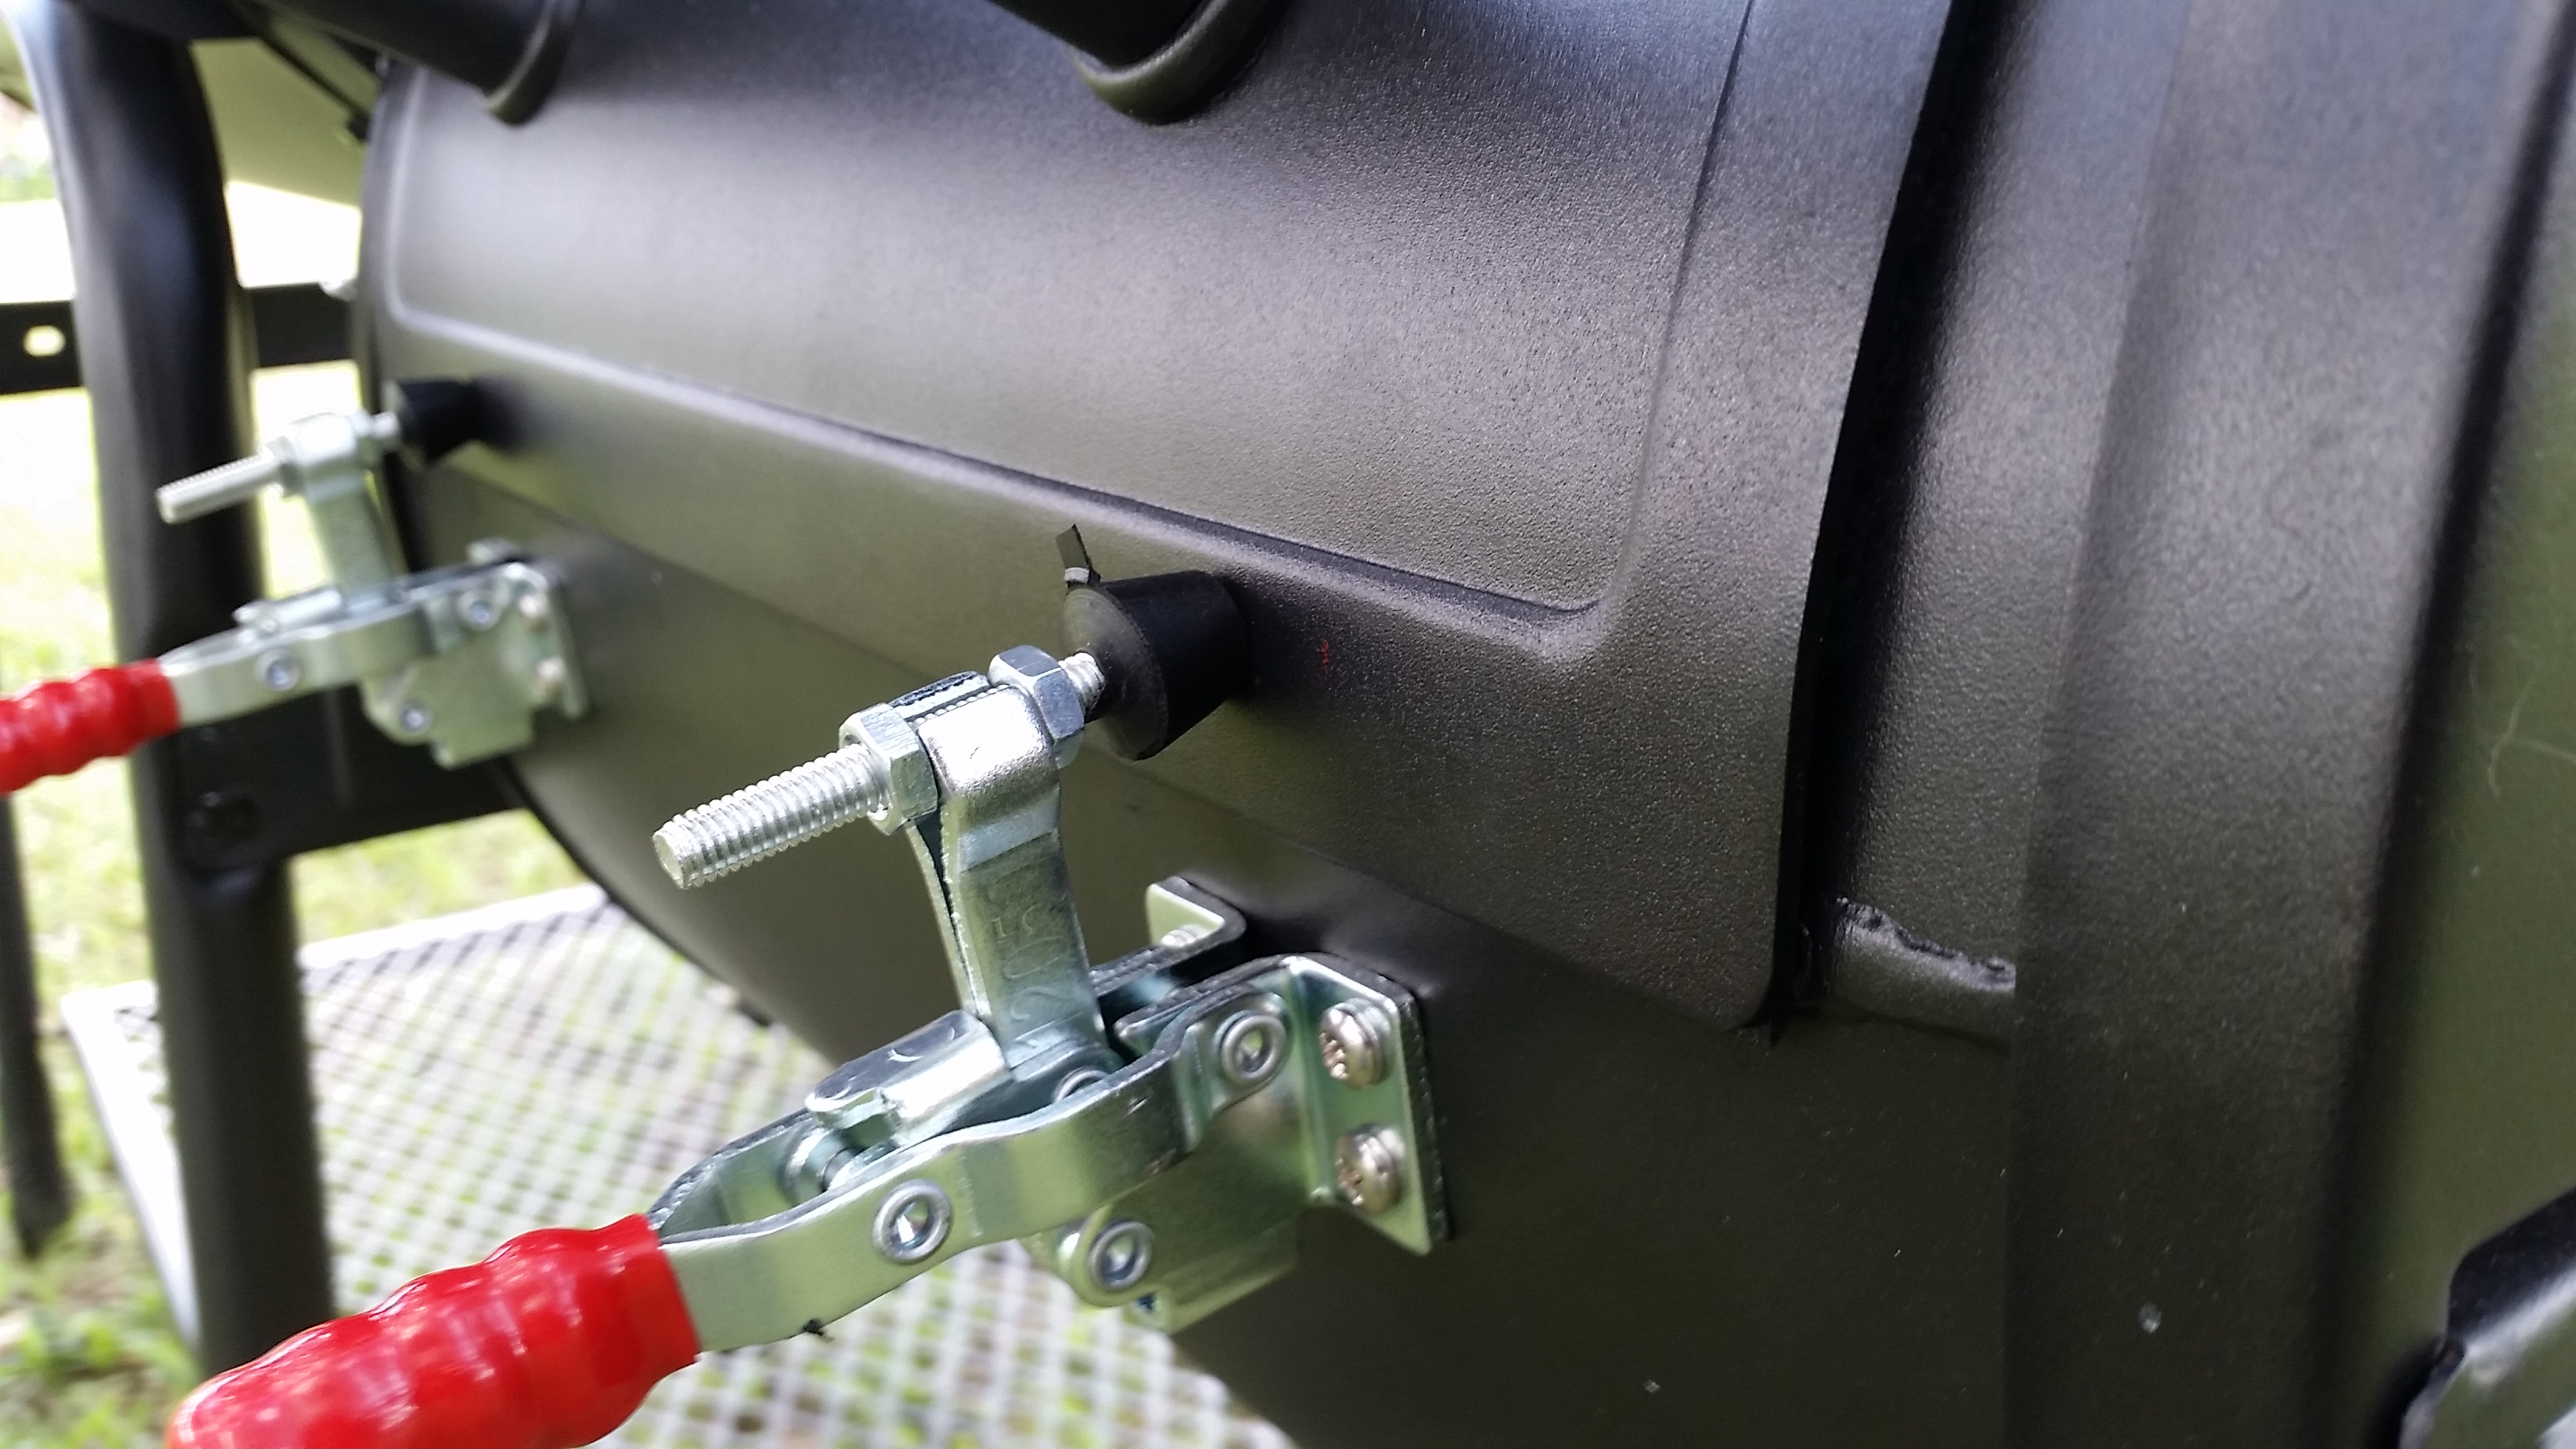
I used 2 LavaLock BBQ Lid LL-12050 200lb Latches.
Will the neoprene tip melt against the Firebox? Neoprene has a melt point of 500 degrees.
Odds are, it will probably melt. Time will tell. And if it does, I will put on ceramic tips.
The Problem Gap

The Placement
The Result
THERMOMETERS
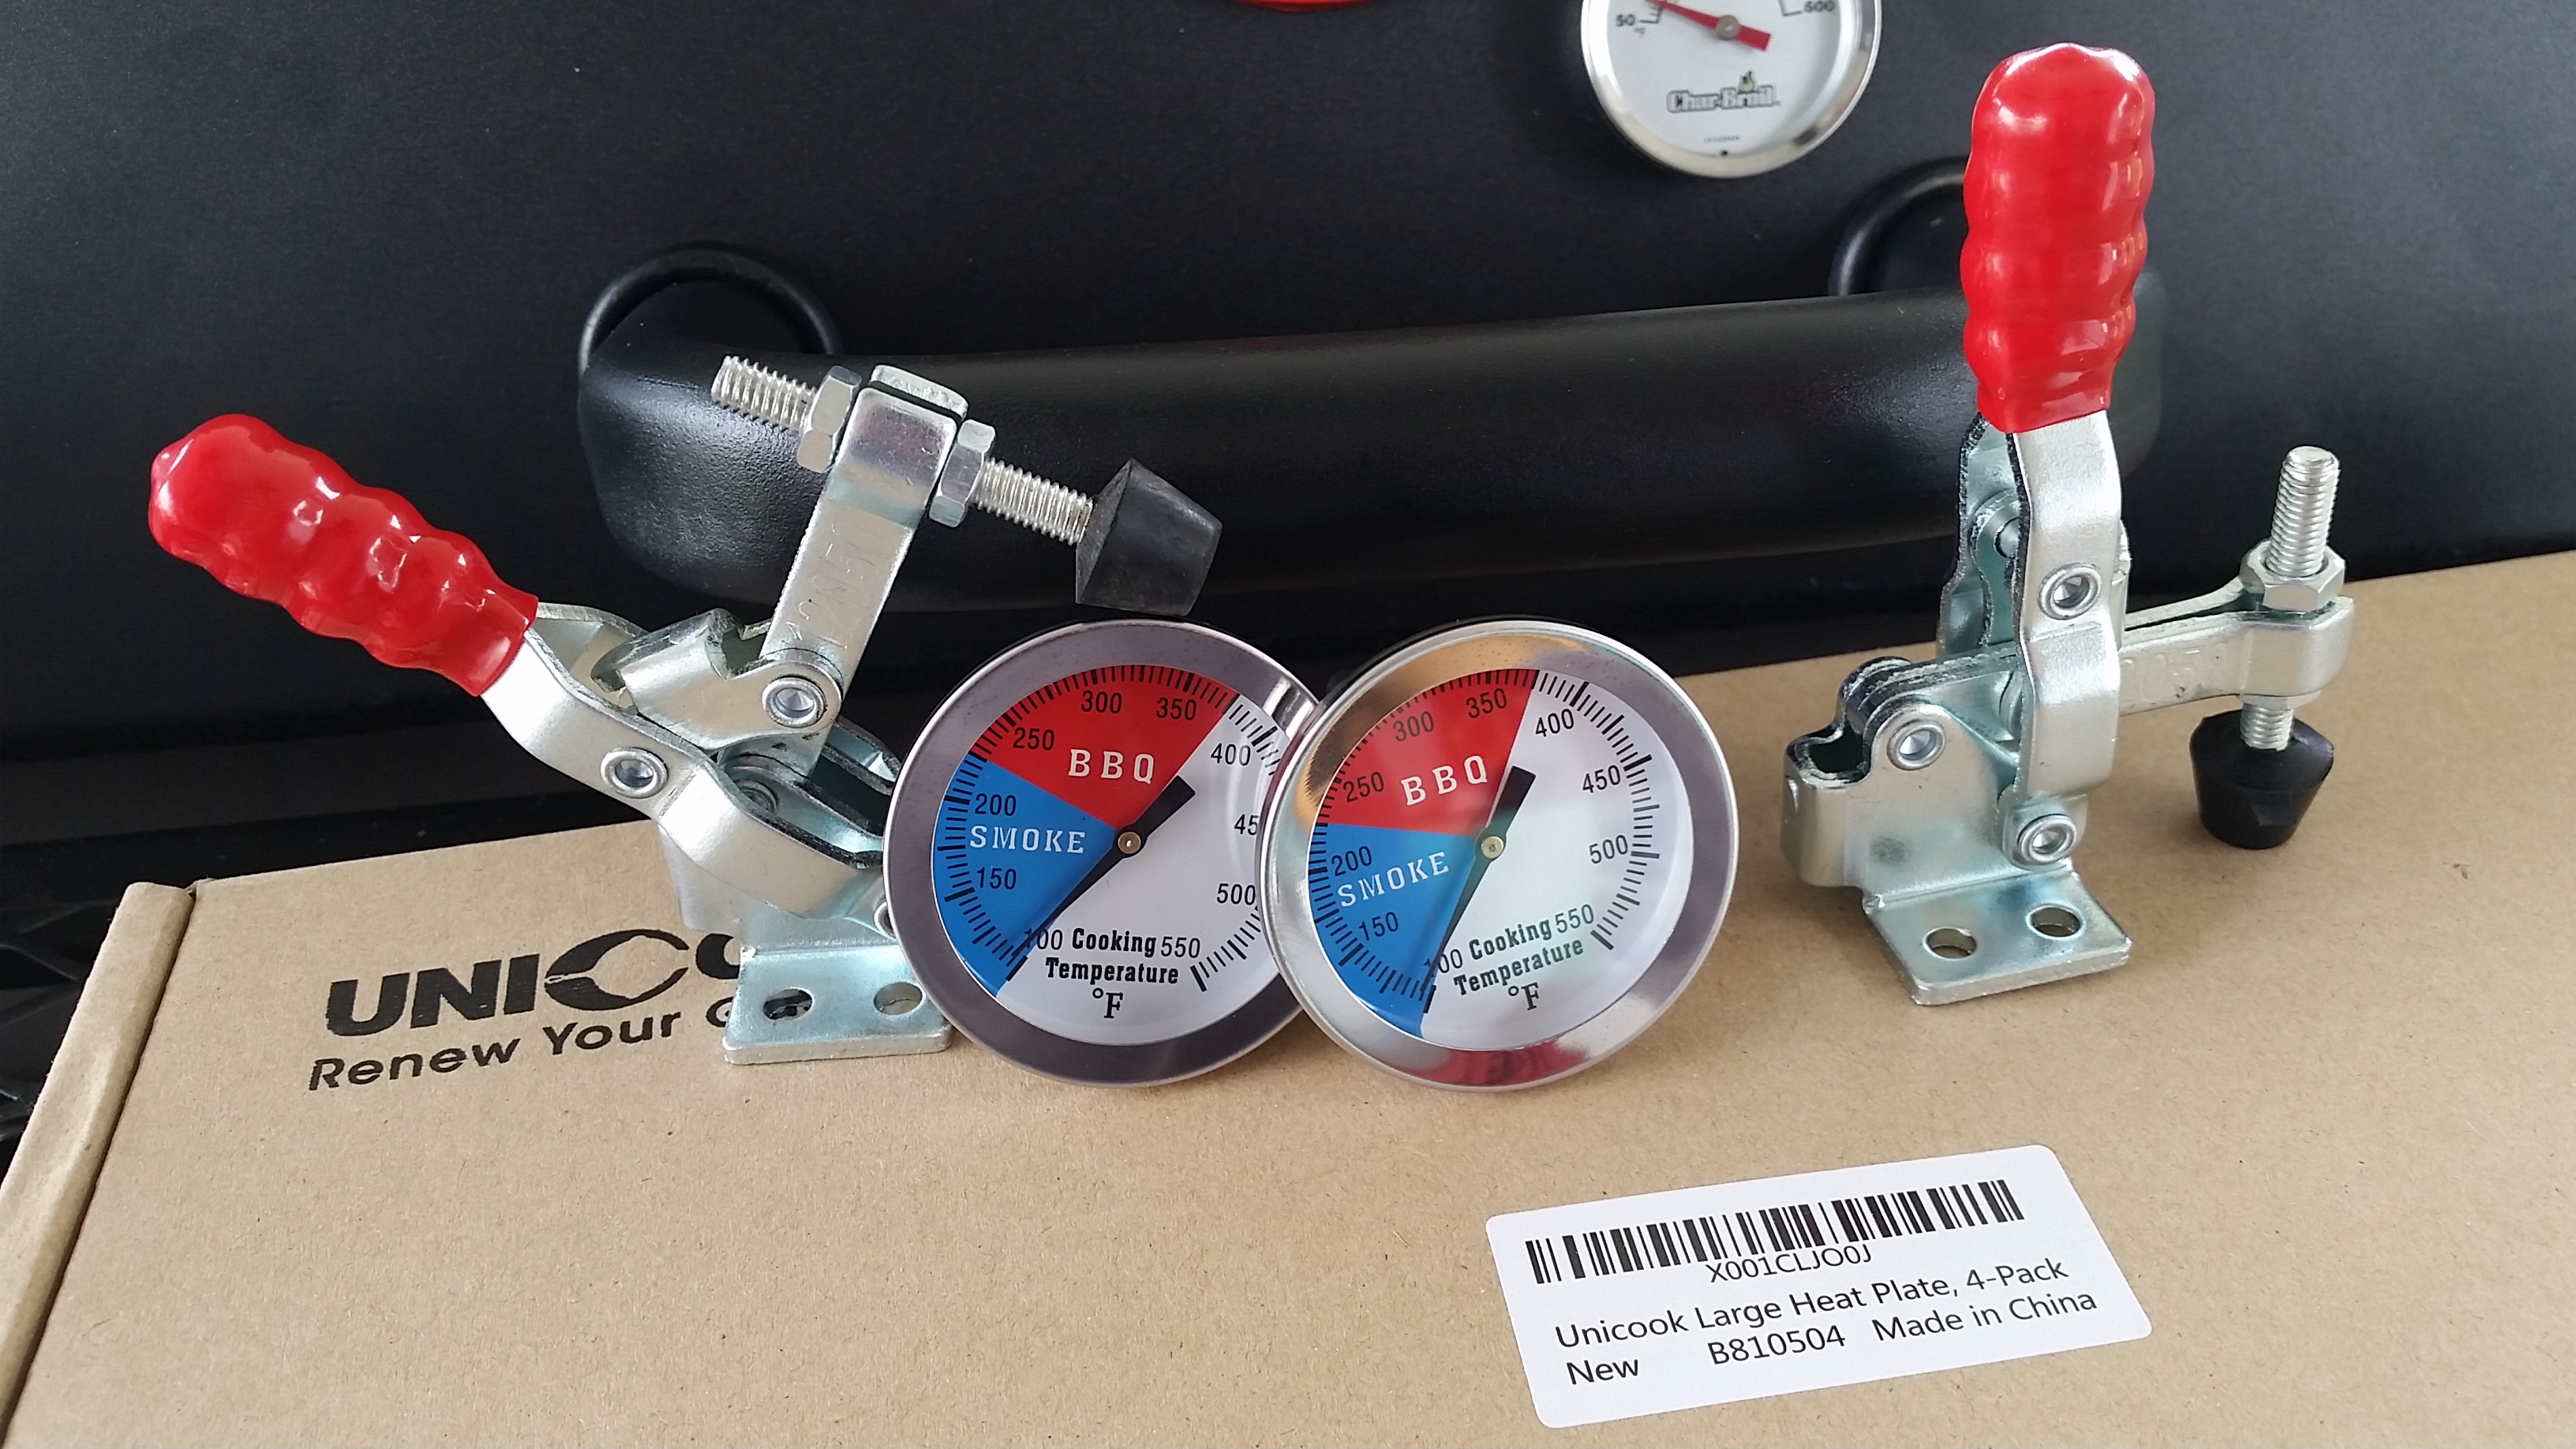
I added 2 DOZYANT 2″ 550F Stainless Steel Temp Gauges.
I also verified calibration before installation.
To do this, bring a pot of water to a rolling boil, insert the stem of the thermometer
into the water for 30 seconds.
After that – it should read almost dead on 212 degrees. Easy as pie.
| I like the color division. I cook at 225 – so that is EASY to see.  |
Temps for all positions! LOL |
LOW BUDGET TUNING
I added 2 (of a 4 pack)
UNICOOK Porcelain Large Grill Heat Plates.
They are 6 inches wide and length adjustable from 15.75″ to 18.75″.
I set them up to ride about an inch higher than the firebox opening to the cook chamber.
They are easy to move and I have two more available.
Hopefully I can balance the end to end temps a bit.
 |
 |
READY TO GO
Our new friend is All Decked Out and ready to go!
Smoking Chicken Wings on Fathers Day.
Might not wait till then to fire it up – maybe a pork belly?
(everybody loves bacon)
Comments are closed, but trackbacks and pingbacks are open.